How to Write an Invoice as a Self‑Employed Person in Switzerland
A practical Swiss invoicing guide for freelancers: mandatory invoice fields, VAT rules and rates, QR-invoice payment section (incl. post–Nov 2025 structured address update), examples, templates, and common mistakes.
If you’re self‑employed in Switzerland, your invoice isn’t just a request for payment—it’s also a key accounting document. A clear, compliant invoice helps you get paid faster, avoids back-and-forth with clients, and reduces risk if your bookkeeping is ever reviewed.
This guide gives you a copy/paste checklist, VAT clarity (including current rates), and QR-invoice guidance updated for 2026—plus examples and ready-to-use wording.
Swiss invoice checklist (mandatory vs recommended)
Use this as your “don’t forget anything” list.
Mandatory information (best practice for Switzerland)
Even though requirements can vary depending on whether you charge VAT, a professional Swiss invoice should include:
- Your business name + address (invoice issuer)
- Your client’s name + address (invoice recipient)
- Invoice date
- Unique invoice number (ideally sequential)
- Description of the service/product (what you delivered)
- Quantity and unit price (e.g., hours × hourly rate)
- Subtotal and total amount due (in CHF if domestic)
- Payment terms (due date or number of days)
- Payment details (IBAN / account details; QR payment section strongly recommended in practice)
Mandatory if you are VAT-registered
If you are registered for Swiss VAT (MWST/TVA/IVA), add:
- Your VAT number (UID/IDE with “MWST”)
- VAT rate(s) applied (e.g., 8.1%, 2.6%, 3.8%)
- VAT amount (shown clearly)
- Net amount + gross amount (recommended for clarity)
Recommended (helps you get paid faster)
- Contact details (email, phone)
- Project / reference number (especially for B2B clients)
- Delivery/performance period (e.g., “Services provided in Jan 2026”)
- Late-payment wording (polite and clear)
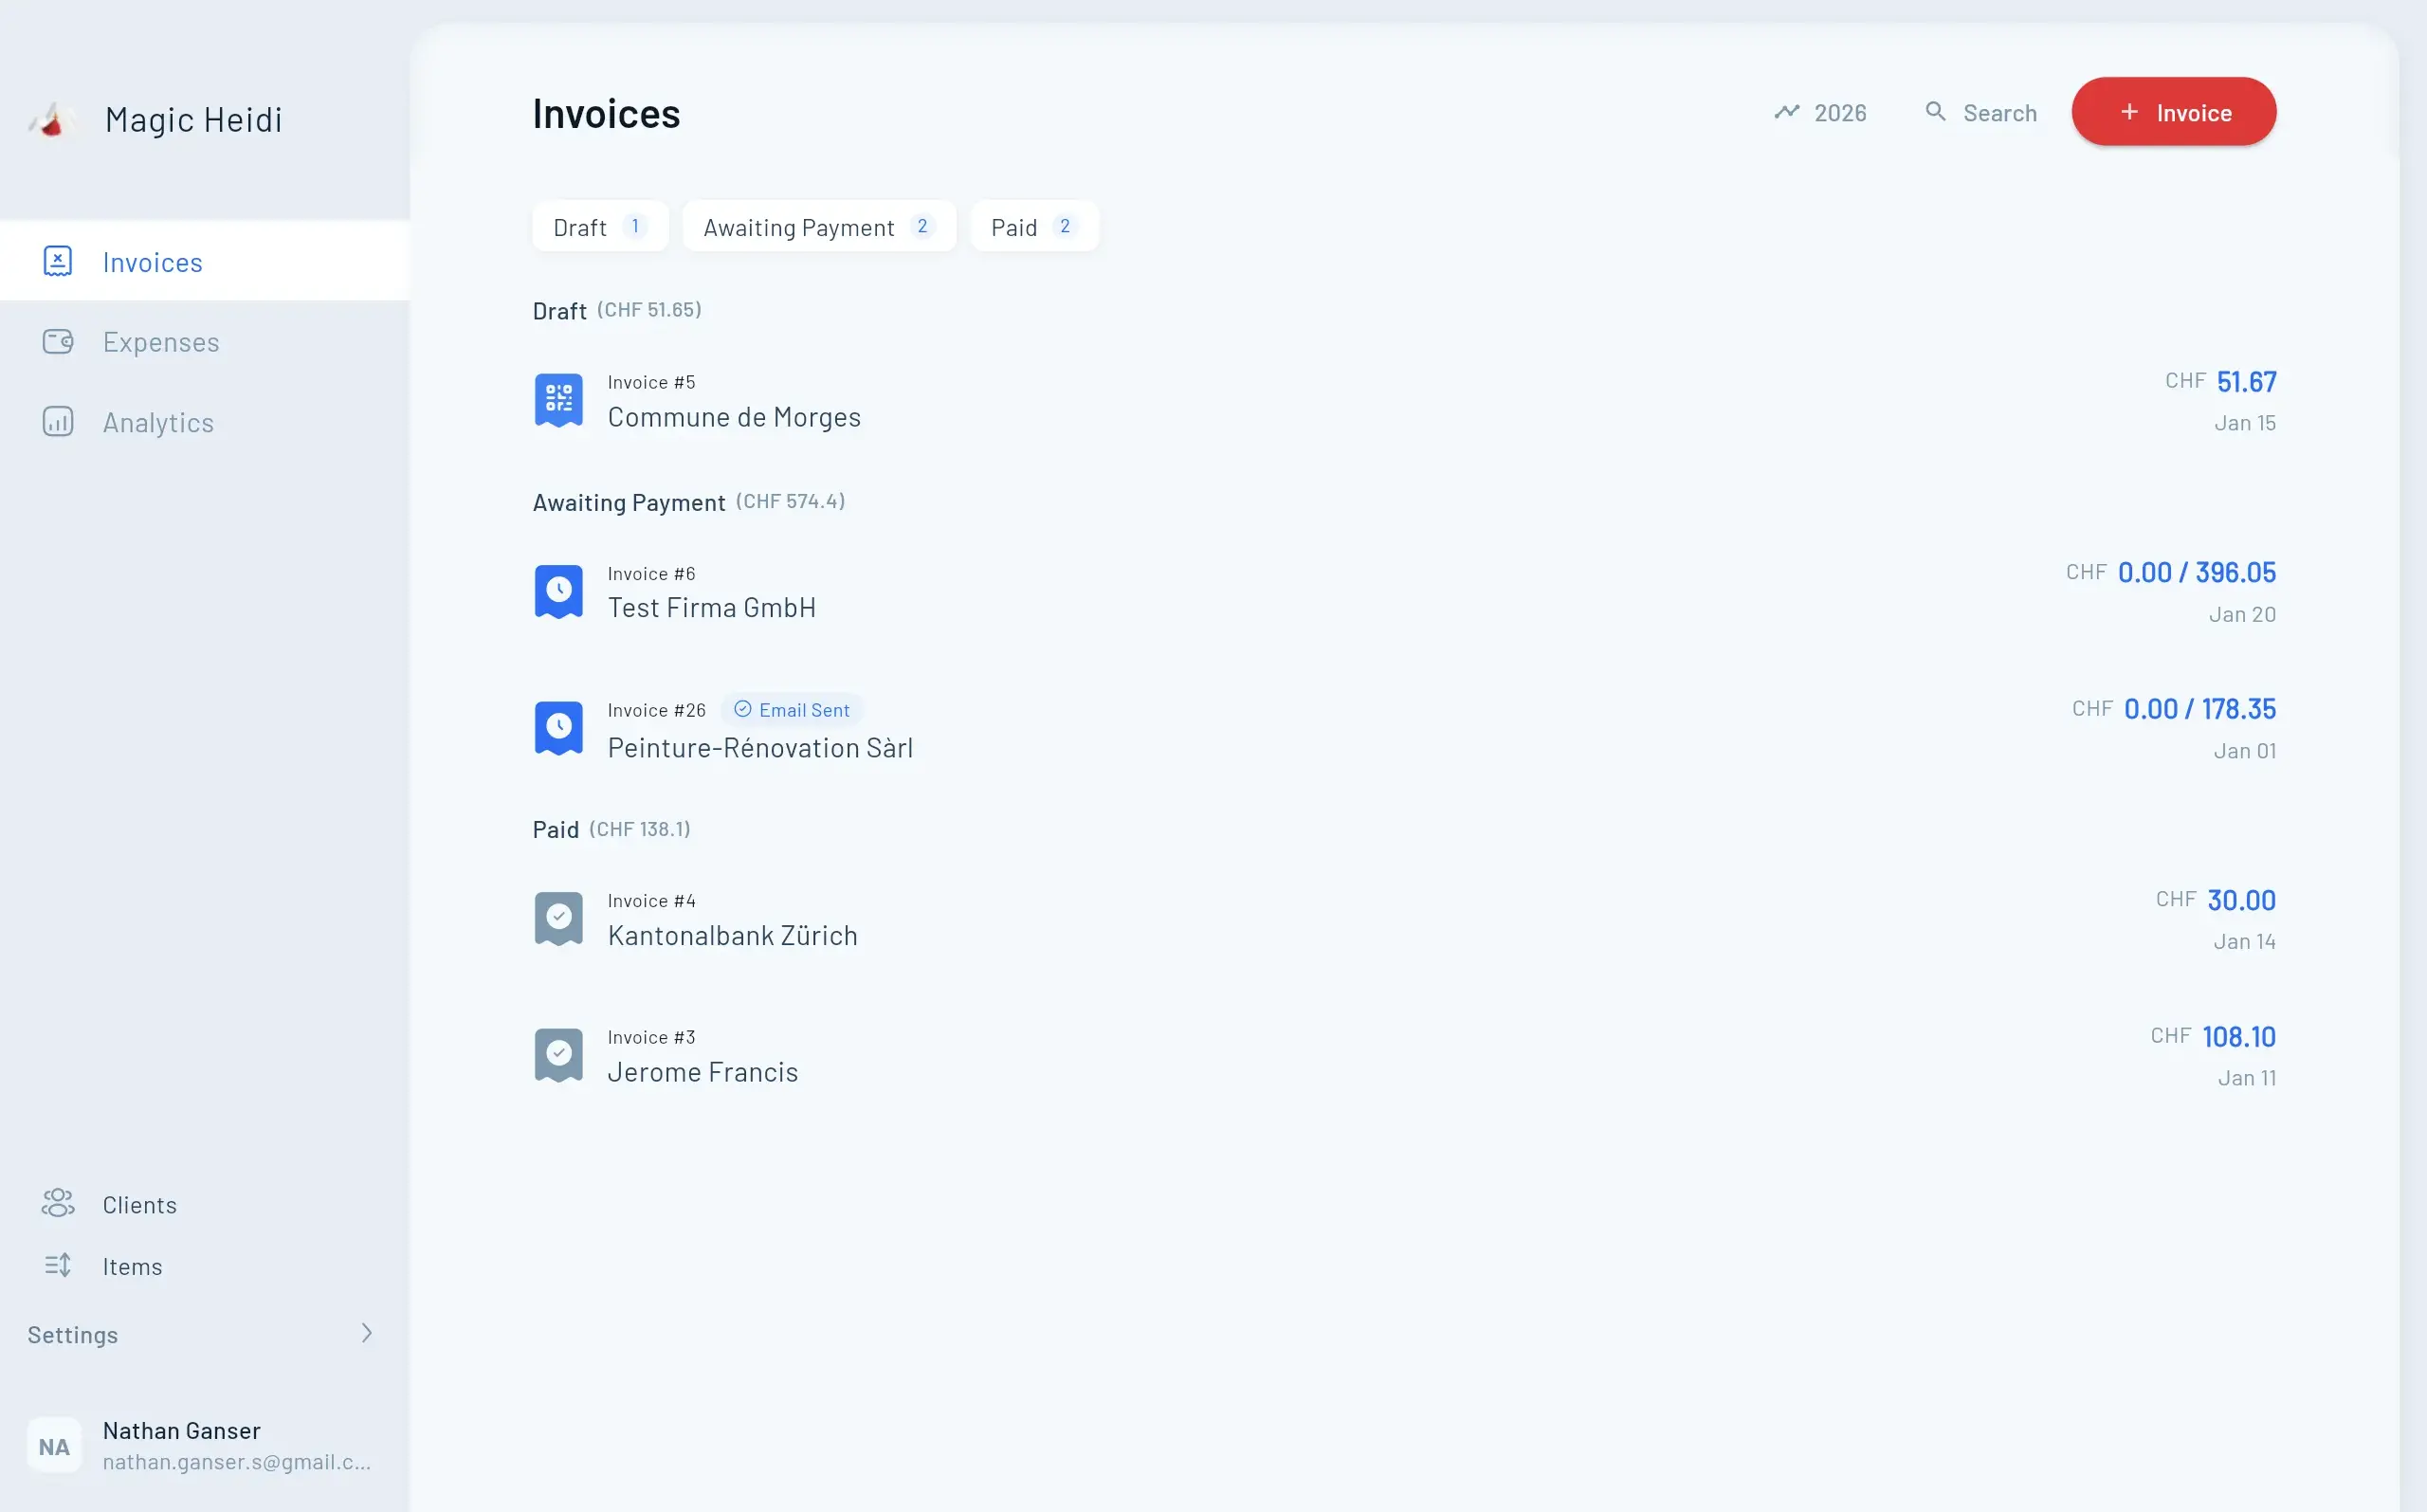
- QR-invoice payment part (QR code + structured payment data)
Invoices Clients Accept Fast
A clean structure, clear line items, explicit payment terms, and a QR payment part reduce questions and speed up approval—especially for Swiss B2B clients.
Step-by-step: how to create a Swiss invoice (that clients accept)
1) Add your issuer details (you)
Include:
- Full name or business name
- Street + number, ZIP, city, country
- Optional: email/phone, website
If you operate as a sole proprietor, you can invoice under your own name (many do), but be consistent across invoices and banking details.
2) Add your client’s details (recipient)
Include:
- Company/client name
- Street + number (or P.O. box where appropriate)
- ZIP, city, country
Tip: If the client is a company, match their official company name and billing address to avoid internal approval delays.
3) Assign an invoice number (and keep it unique)
Use a numbering system you can maintain over time, such as:
2026-001,2026-002, …- or
INV-2026-001
Sequential numbering is a simple internal control that helps with bookkeeping, payment tracking, and audits.
4) Specify the invoice date and (optional) service period
Always include the invoice date.
Also consider adding the service/performance period, especially for:
- monthly retainers
- hourly consulting
- subscriptions
- recurring maintenance
Example:
Service period: 01–31 January 2026
5) Describe what you delivered (line items)
Your line items should be understandable to someone outside your project.
Good line item formats:
- “UX design — Workshop & wireframes (8 hours × CHF 140)”
- “Electrical work — Install light fixtures (materials + labor)”
- “Coaching package — Session 3 of 6”
6) Add totals (net, VAT, gross)
A clean structure looks like this:
- Subtotal (net)
- VAT (by rate, if applicable)
- Total (gross)
If you apply different VAT rates on one invoice, show them separately.
7) Add payment terms (be explicit)
Common terms in Switzerland are 10 days or 30 days, but use what fits your business and client expectations.
Examples:
- “Payment due within 10 days of invoice date.”
- “Due date: 15.02.2026”
8) Add payment details (IBAN + QR-invoice section)
At minimum, include your IBAN and account holder name. In Switzerland, clients increasingly expect a QR payment part (QR-invoice) because it reduces errors and speeds up payment.
Swiss Invoice Fields
At a Glance
Use this list to sanity-check every invoice before sending.
Core invoice fields
The “must-have” fields that make your invoice readable and payable.
- Issuer (your) name + address
- Recipient (client) name + address
- Invoice date + unique invoice number
- Clear line items (qty × unit price)
Payment essentials
Details that reduce friction and help clients pay correctly.
- Subtotal and total amount due (CHF if domestic)
- Payment terms (due date / days)
- IBAN / account holder details
- QR payment part recommended
VAT (only if registered)
If you’re VAT-registered, show VAT details clearly and consistently.
- VAT number (CHE-xxx.xxx.xxx MWST)
- VAT rate(s) applied (8.1% / 2.6% / 3.8%)
- VAT amount per rate
- Net and gross totals
VAT (MWST/TVA): when you must charge it—and how to show it
VAT is where most self-employed people feel uncertain. The key is: whether you are VAT registered determines what you can (and must) show on your invoice.
Do you need to register for VAT in Switzerland?
A common rule of thumb is:
- VAT registration becomes mandatory once your turnover exceeds CHF 100,000 (subject to specific conditions and exceptions).
If you’re below the threshold, you may still register voluntarily (for example, if you want to reclaim input VAT on business expenses). If you’re unsure, confirm your situation with a fiduciary/accountant or the official VAT guidance.
Current Swiss VAT rates (include these on VAT invoices)
At the time of writing, commonly referenced Swiss VAT rates include:
- 8.1% (standard rate)
- 2.6% (reduced rate)
- 3.8% (special rate, e.g., accommodation)
Use the rate that matches your goods/services. If unsure, verify the correct VAT treatment for your industry.
What to include on the invoice if you are VAT-registered
Add:
- Your VAT number (UID/IDE + “MWST”)
- The VAT rate and VAT amount
- Net and gross totals
Example VAT block (copy/paste template):
- Subtotal (net): CHF 2,000.00
- VAT 8.1%: CHF 162.00
- Total (gross): CHF 2,162.00
VAT number example format:CHE-123.456.789 MWST
What if you are not VAT-registered?
If you are not VAT registered, you generally should not charge VAT or show a VAT amount. Many freelancers add a simple note so clients understand why VAT is missing.
Non‑VAT wording options (copy/paste):
- “Not VAT registered (no VAT charged).”
- “VAT exempt / not subject to VAT.”
- “Not registered for Swiss VAT (MWST).”
Keep it plain and consistent—especially for B2B clients that are used to VAT invoices.
Expense Receipts and VAT—Stay Consistent
If you track reimbursable expenses, keep supporting receipts organized and ensure VAT (if applicable) is shown correctly. Consistency prevents client questions and bookkeeping clean-up later.
QR-invoice in Switzerland (what it is, when to use it, and the 2025 update)
What is a QR-invoice?
A Swiss QR-invoice (QR-bill) is an invoice with a QR payment part that includes a QR code containing structured payment information (recipient, IBAN, amount, reference, etc.). Clients can scan it in e-banking or banking apps to pay quickly and accurately.
Is a QR code mandatory on Swiss invoices?
In many scenarios, a QR payment part is not legally “mandatory” for every invoice—but it is strongly expected in practice for domestic Swiss payments because it:
- reduces payment mistakes
- speeds up approval and settlement
- looks professional and “Swiss-standard”
If you invoice Swiss clients regularly, offering QR payment is a major convenience.
Important update for 2026: structured addresses in QR codes
Switzerland’s QR-bill standard has evolved. From 21 November 2025, updates to the QR-invoice guidelines introduce structured address requirements in the QR code (with a transition period). In practical terms:
- If you generate QR payment parts, ensure your tool supports structured addresses (separate fields like street, house number, ZIP, city, country).
- Older formats that embed unstructured address lines may be phased out and could face acceptance issues over time.
If you still create QR invoices manually or with older templates, this is your sign to update.
QR-invoice and international clients
If your client is abroad, you may still send a standard PDF invoice with:
- your IBAN (ideally IBAN/SWIFT details depending on payment method)
- currency and payment instructions
A Swiss QR payment part is primarily helpful when the payer uses Swiss banking rails. For international billing, focus on clear bank transfer details and the correct tax treatment.
Invoice examples (services, expenses, discounts) you can copy
Example 1: hourly service invoice (freelancer/consultant)
Line items
- Strategy consulting — 12 hours × CHF 150.00 = CHF 1,800.00
- Project management — 3 hours × CHF 150.00 = CHF 450.00
Subtotal: CHF 2,250.00
VAT 8.1%: CHF 182.25
Total: CHF 2,432.25
Payment terms: Due within 10 days.
Example 2: fixed-price project milestone
- Website redesign — milestone 1 (concept + design) = CHF 3,500.00
Add a clear scope label like “milestone 1” or “phase 1” to reduce disputes.
Example 3: reimbursable expenses (transparent and client-friendly)
- Travel (Zurich–Bern, 2nd class) = CHF 68.00
- Stock photos (receipts available on request) = CHF 45.00
Tip: Some clients require expense receipts attached—decide your process and mention it upfront.
Example 4: discount line
- Design services = CHF 2,000.00
- Discount (10% goodwill discount) = –CHF 200.00
Subtotal: CHF 1,800.00
Make discounts explicit to increase perceived value and reduce questions.
Copy/Paste Footer Pack for Reminders
Standardized payment instructions and reminder wording save time and keep your tone consistent—especially when you’re sending follow-ups.

Copy/paste: invoice footer pack (payment + reminders)
Use these snippets to save time and sound consistent.
Payment instruction (simple)
“Please transfer the total amount to the account shown above. Thank you.”
Payment terms (10 / 30 days)
- “Payment due within 10 days of invoice date.”
- “Payment due within 30 days of invoice date.”
Late payment wording (firm but professional)
- “If you have any questions about this invoice, please contact us. If payment is not received by the due date, a reminder will be sent.”
- “Please note: overdue amounts may be subject to reminder fees and/or late interest in accordance with our terms.”
(If you plan to charge fees/interest, ensure your terms are consistent and appropriate for your customer relationships.)
Not VAT-registered note
- “Not VAT registered (no VAT charged).”
Common Swiss invoicing mistakes (and how to avoid them)
1) Missing or unclear VAT information
If you are VAT registered, clients (and your bookkeeping) need:
- VAT number
- rate
- VAT amount
If you’re not registered, don’t show VAT—add a short note instead.
2) No unique invoice number
A missing or duplicated number creates confusion, makes payment matching harder, and complicates accounting.
3) Vague line items
“Services rendered” invites delays. Replace it with a concrete description and dates/period.
4) No payment terms
If you don’t state when payment is due, you increase the chance the invoice sits in someone’s inbox.
5) Outdated QR-invoice formatting
If you use QR payment parts, ensure your setup is aligned with post–Nov 2025 structured address expectations, so payments continue to process smoothly.
Recordkeeping: how long must you keep invoices in Switzerland?
A widely cited best practice in Switzerland is to retain invoices and accounting records for 10 years.
Practical tips:
- Save a final PDF version of every invoice you send.
- Keep a clear naming convention (e.g.,
2026-001_ClientName.pdf). - Store supporting documents (contracts, timesheets, receipts) with the invoice.
FAQ: Writing invoices as a freelancer in Switzerland
Do I need to write “Invoice” at the top?
It’s not always strictly required, but it’s standard and helps clients route your document correctly. Use “Invoice” (or “Rechnung/Facture”) and include the invoice number nearby.
Do invoice numbers have to be sequential?
There’s no single format everyone must use, but sequential numbering is a widely used best practice that simplifies bookkeeping and avoids duplicates.
Must every Swiss invoice include a QR code?
Not necessarily, but for Swiss clients it’s strongly recommended. Many customers prefer scanning a QR code over typing IBAN and reference details.
What if I’m under CHF 100,000 turnover—can I add VAT anyway?
You generally shouldn’t add VAT unless you are VAT registered. If you want to charge VAT and reclaim input VAT, you may be able to register voluntarily—confirm your situation before changing invoices.
Can I invoice clients abroad the same way?
You can use the same core structure, but payment instructions may change (IBAN/SWIFT, currency, and potentially tax wording). QR payment parts are mainly beneficial for Swiss domestic payments.
What payment terms are typical in Switzerland?
Many freelancers use 10 days or 30 days. B2B clients sometimes require 30 days by policy.
A simple invoice structure you can reuse (template outline)
Use this as your default layout:
- Header: Invoice + invoice number
- Your details (issuer)
- Client details (recipient)
- Invoice date + due date (or payment terms)
- Line items table (description, qty, unit price, amount)
- Subtotal, VAT (if applicable), total
- Payment details (IBAN and/or QR payment part)
- Notes (non-VAT wording, thank you message, reference)
Create professional Swiss invoices in minutes
Generate clean PDFs, add QR payment parts correctly, keep numbering consistent, and handle VAT lines with confidence.