How to create an invoice with Magic Heidi

How to create an invoice with Magic Heidi

In this short guide, we will review how easy and simple it is to create an invoice with Magic Heidi. We will also discover some power-user features that enable you to customise invoices even further. 

1. Create a new invoice

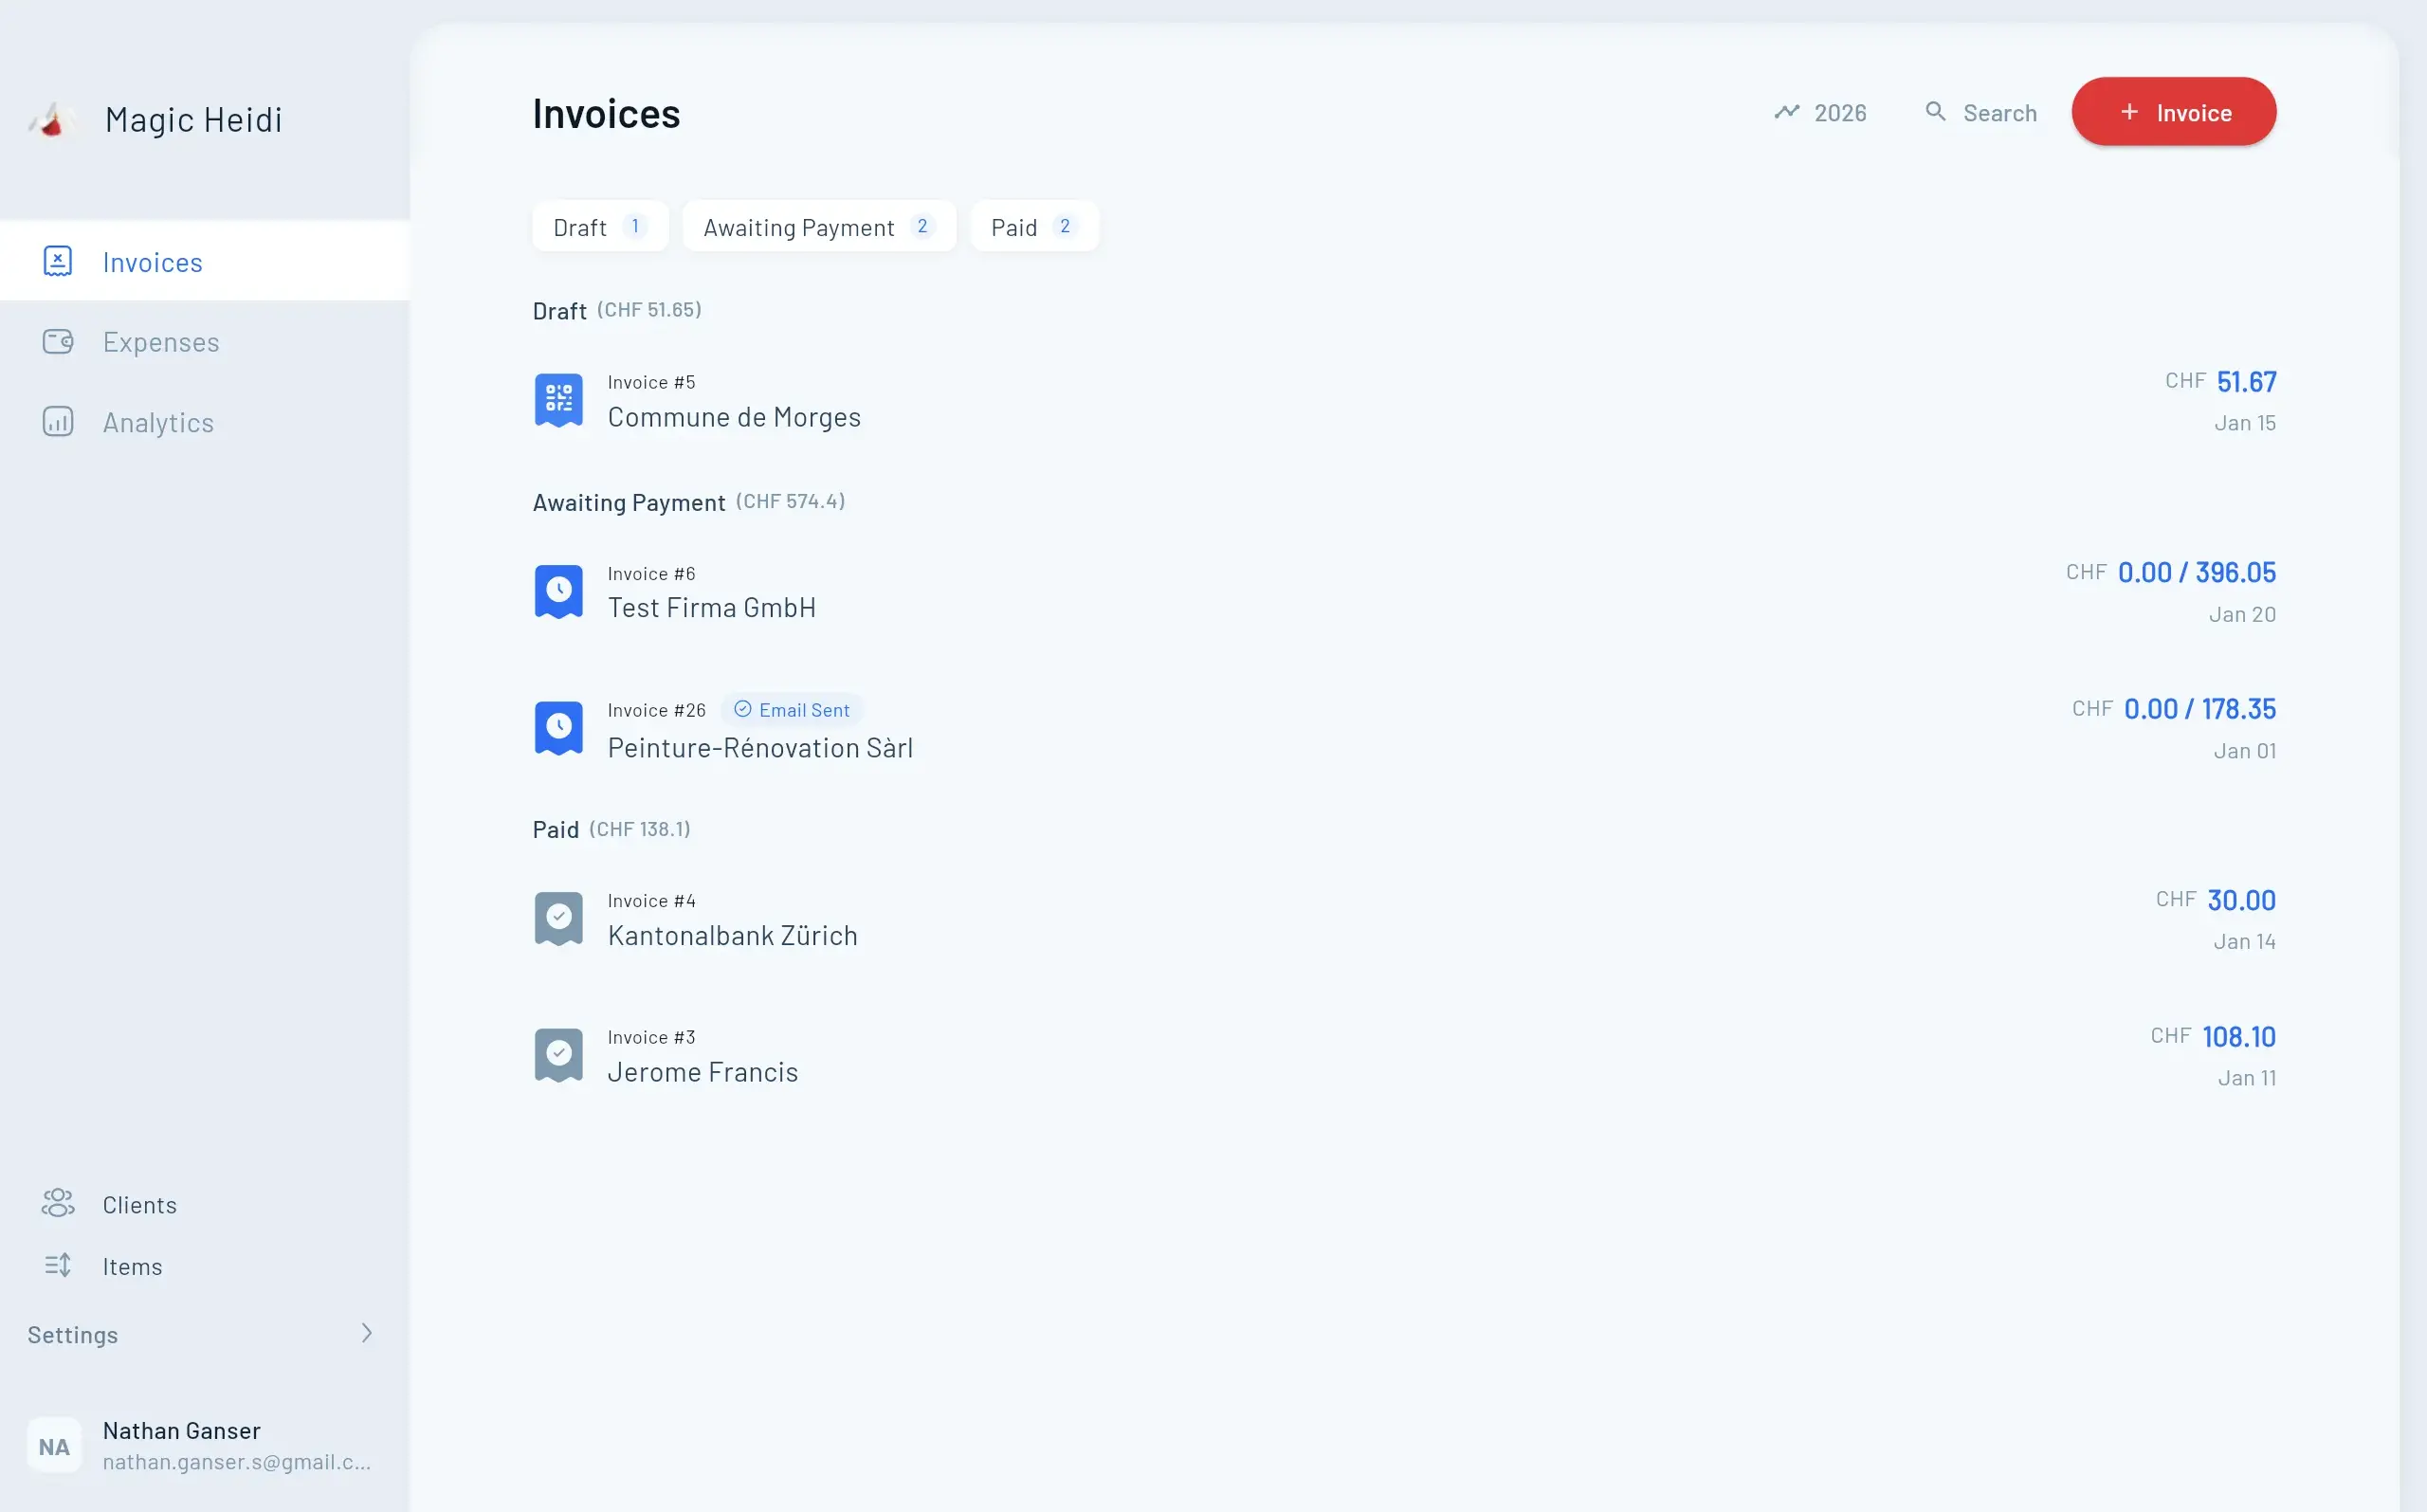
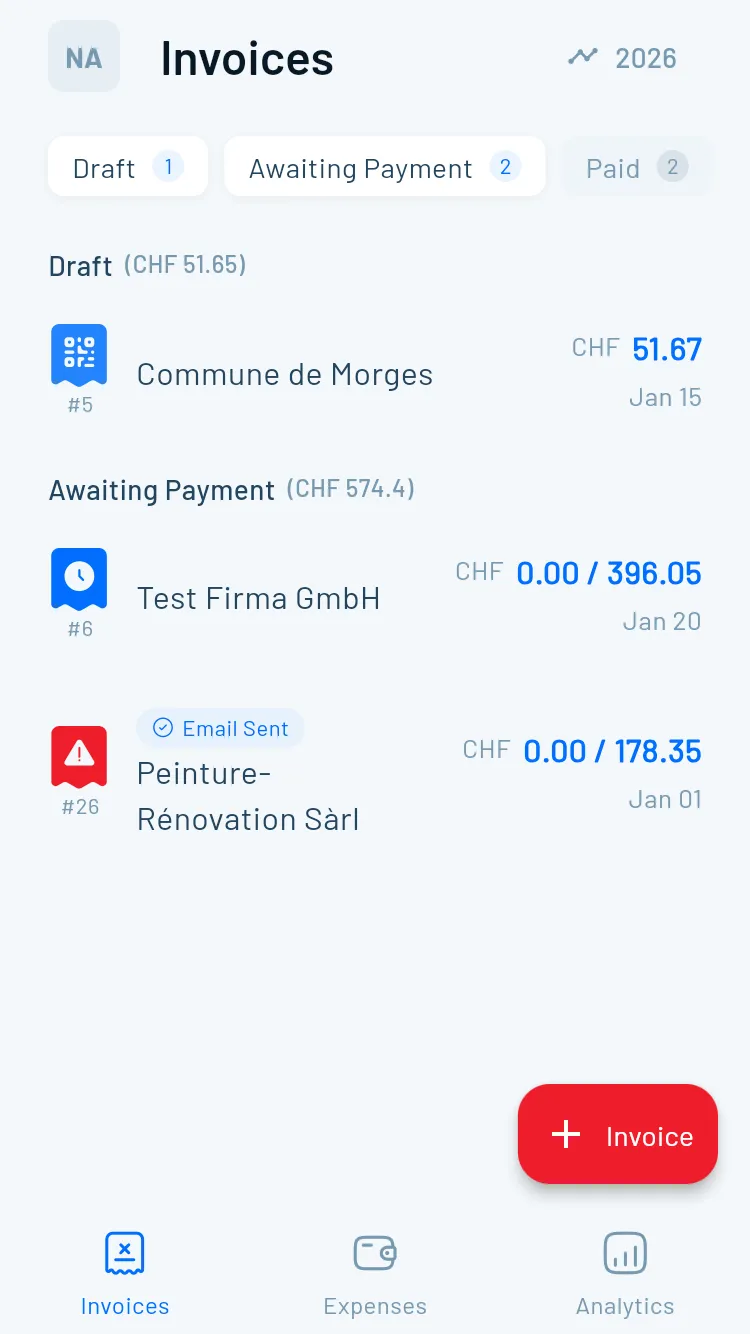
The first step to creating an invoice, once you are in the "Invoices" section of the app, is to click on the "+" (plus) button.

  • On phones, the button is on the bottom right of the app.
  • On computers, the button is in the top right corner of the page.


You will then be prompted to pick an existing client, or you can click on the "+" (plus) button again to create a new one. 

  • On phones, the button is on the bottom right of the app.
  • On computers, the button is in the top right corner of the page.


2. Adding items to the invoice

Now that you have created a new invoice, you can add items to the invoice by clicking on the "Add item" button or the small "+" (plus) button on the right in the middle of the page. 

If you have already created items, those will be available in the "Recent" section and you can scroll through them and start typing to filter them. 

3. Customise your invoice

You can customise many elements about your invoice by clicking on the button on the top right of the page.

  • On phones, the button is a pen icon on the top right of the app.
  • On computers, the button is named "Edit invoice" and also on the top right corner of the page.

You can set the language in which the invoice will be generated, the currency, add a custom text message that will be added to the invoice and switch from generating an invoice to generating a quote.

If you have VAT enabled, you will also be able to set the VAT rate here.

Those settings will be saved and automatically applied to all future invoices generated for this specific customer.

4. Download and send your invoice

Once your invoice is ready, you can click the red "Generate invoice" button on the bottom of the page to generate the PDF file.

Customise your invoices further: Custom logos & adding VAT

You can customise your logo further by changing the invoice logo or adding VAT to your invoice in the app's settings. 

Add your logo to the invoice

In order to add a custom logo to all your invoices, you can visit the "Change logo" section of the app.

  • On phones, click on the menu icon from the Invoices section. It is a grey square button with your initials at the right top corner of the app to open the settings. Then you will see the "Change logo" section in the settings menu.
  • On computers, click on the side menu element named "Change logo" on the bottom left of the page.

There, you will be able to select an image from your computer or phone that will be added to your invoices. Make sure the file is square for the the best result. You can click the "Preview" button to see how your logo appears on a test invoice. 

Enable VAT for your account

If you want to charge VAT in your invoices, you can enable VAT by visiting the "Bank details" section.

  • On phones, click on the menu icon from the Invoices section. It is a grey square button with your initials at the right top corner of the app to open the settings. Then, you will see the "Bank details" section in the settings menu.
  • On computers, click on the side menu element named "Bank details" on the bottom left of the page.

VAT will be enabled by default with the normal 8.1% rate, but you can change that as we saw before. You can also select between two different modes for VAT:

  • Normal: VAT will be added on top of the invoice price. So a 100 invoice will become 108.1
  • VAT included: VAT will be included within the price of the items. So a 100 invoice will stay 100 but the actual item price will be 92.5

Thank you for reading. We hope this has been useful!