 Magic Heidi
How to Change Your Logo on Swiss QR Invoices
Upload your logo in Magic Heidi and check the invoice PDF. Practical guidance on image formats, previews and troubleshooting.
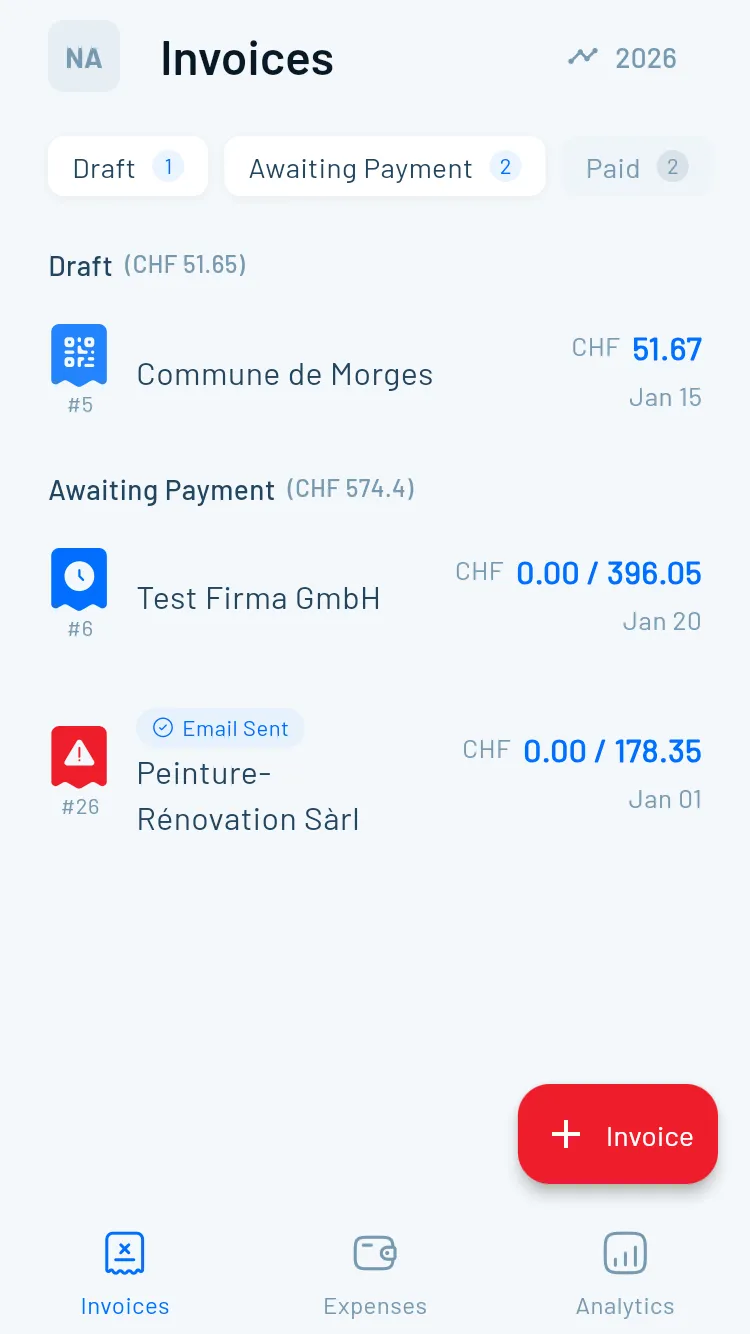
Every invoice you send is a touchpoint with your clients. A consistent logo helps them recognise the sender; a particular effect on payment speed has not been established.
The QR-bill replaced the former payment slips on 1 October 2022. That does not make a QR payment section compulsory on every invoice. Your logo belongs in the invoice header, not inside the Swiss QR Code or its surrounding clear space.
This tutorial shows you exactly how to customize your Swiss invoices with your logo and check the result in the invoice PDF.
Why Add Your Logo to Swiss QR Invoices?
Your logo helps clients recognise your business. It does not replace checking the invoice or payment details.
Professional Credibility
A clear, consistent logo helps clients recognise your business across invoices and other documents.Recognise the Sender
A consistent logo can help identify the sender. Clients should still verify the sender and bank details; faster payment is not promised.Stronger Brand Recognition
Every invoice is a brand impression. If you send 50 invoices per year, that's 50 opportunities to reinforce your brand identity.Branding and Payment Standards
Place your logo in the invoice header, separate from the payment section, Swiss QR Code and surrounding clear space. Check the generated PDF; branding alone does not demonstrate compliance with Swiss payment standards.Understanding Swiss QR Invoice Requirements
What is a Swiss QR Invoice?
The Swiss QR-bill replaced red and orange payment slips on 1 October 2022. A QR payment section contains a standardised Swiss QR Code; an invoice without a QR payment section remains possible.
The QR code measures exactly 46 x 46 mm when printed and features a Swiss cross in the center. This standardization streamlines payment processing across Swiss banking systems.
Check the Payment Fields
Check the relevant QR-bill fields:
- QR code (46 x 46 mm with Swiss cross)
- Payment section with structured data
- Creditor information (your business details)
- Amount (if specified)
- Currency (CHF or EUR)
- Reference number (if applicable)
- Additional information field
Whether fields are required or optional depends on the use case and SIX requirements. Check the applicable combination before sending.
Where Your Logo Fits
Your logo belongs in the header, separate from payment information. Keep the payment section, Swiss QR Code and surrounding clear space unobstructed, and check the finished PDF. Placement alone does not ensure invoice compliance.
The key rule: never cover or obscure the QR code. Place your logo in the top section, away from the payment slip at the bottom.
Magic Heidi adds the logo to the invoice document. Check the actual output; a logo does not certify legal compliance.
Logo Requirements and Best Practices
Use these design suggestions and check the actual PDF. They are not additional mandatory upload specifications.
File Format & Size
Use the right format and dimensions for optimal display quality across all platforms.
- PNG or JPG format (PNG recommended for transparency)
- Choose enough resolution for the PDF preview
- Do not infer a fixed file-size limit from this guide
- Check readability in the generated PDF
Color & Design
Ensure your logo looks professional and remains readable at invoice size.
- RGB color space (not CMYK)
- High contrast with background
- Simple, scalable design
- Avoid text-heavy logos
Quality Checklist
Verify these elements before uploading to ensure the best results.
- Logo is clear when scaled down
- Consistent with other brand materials
- No excessive transparent space
- Standard aspect ratio (square or 2:1)
Step-by-Step Tutorial: Changing Your Logo
Upload the logo in invoice customisation, then check the saved image and PDF. Menu positions can vary by platform and version.
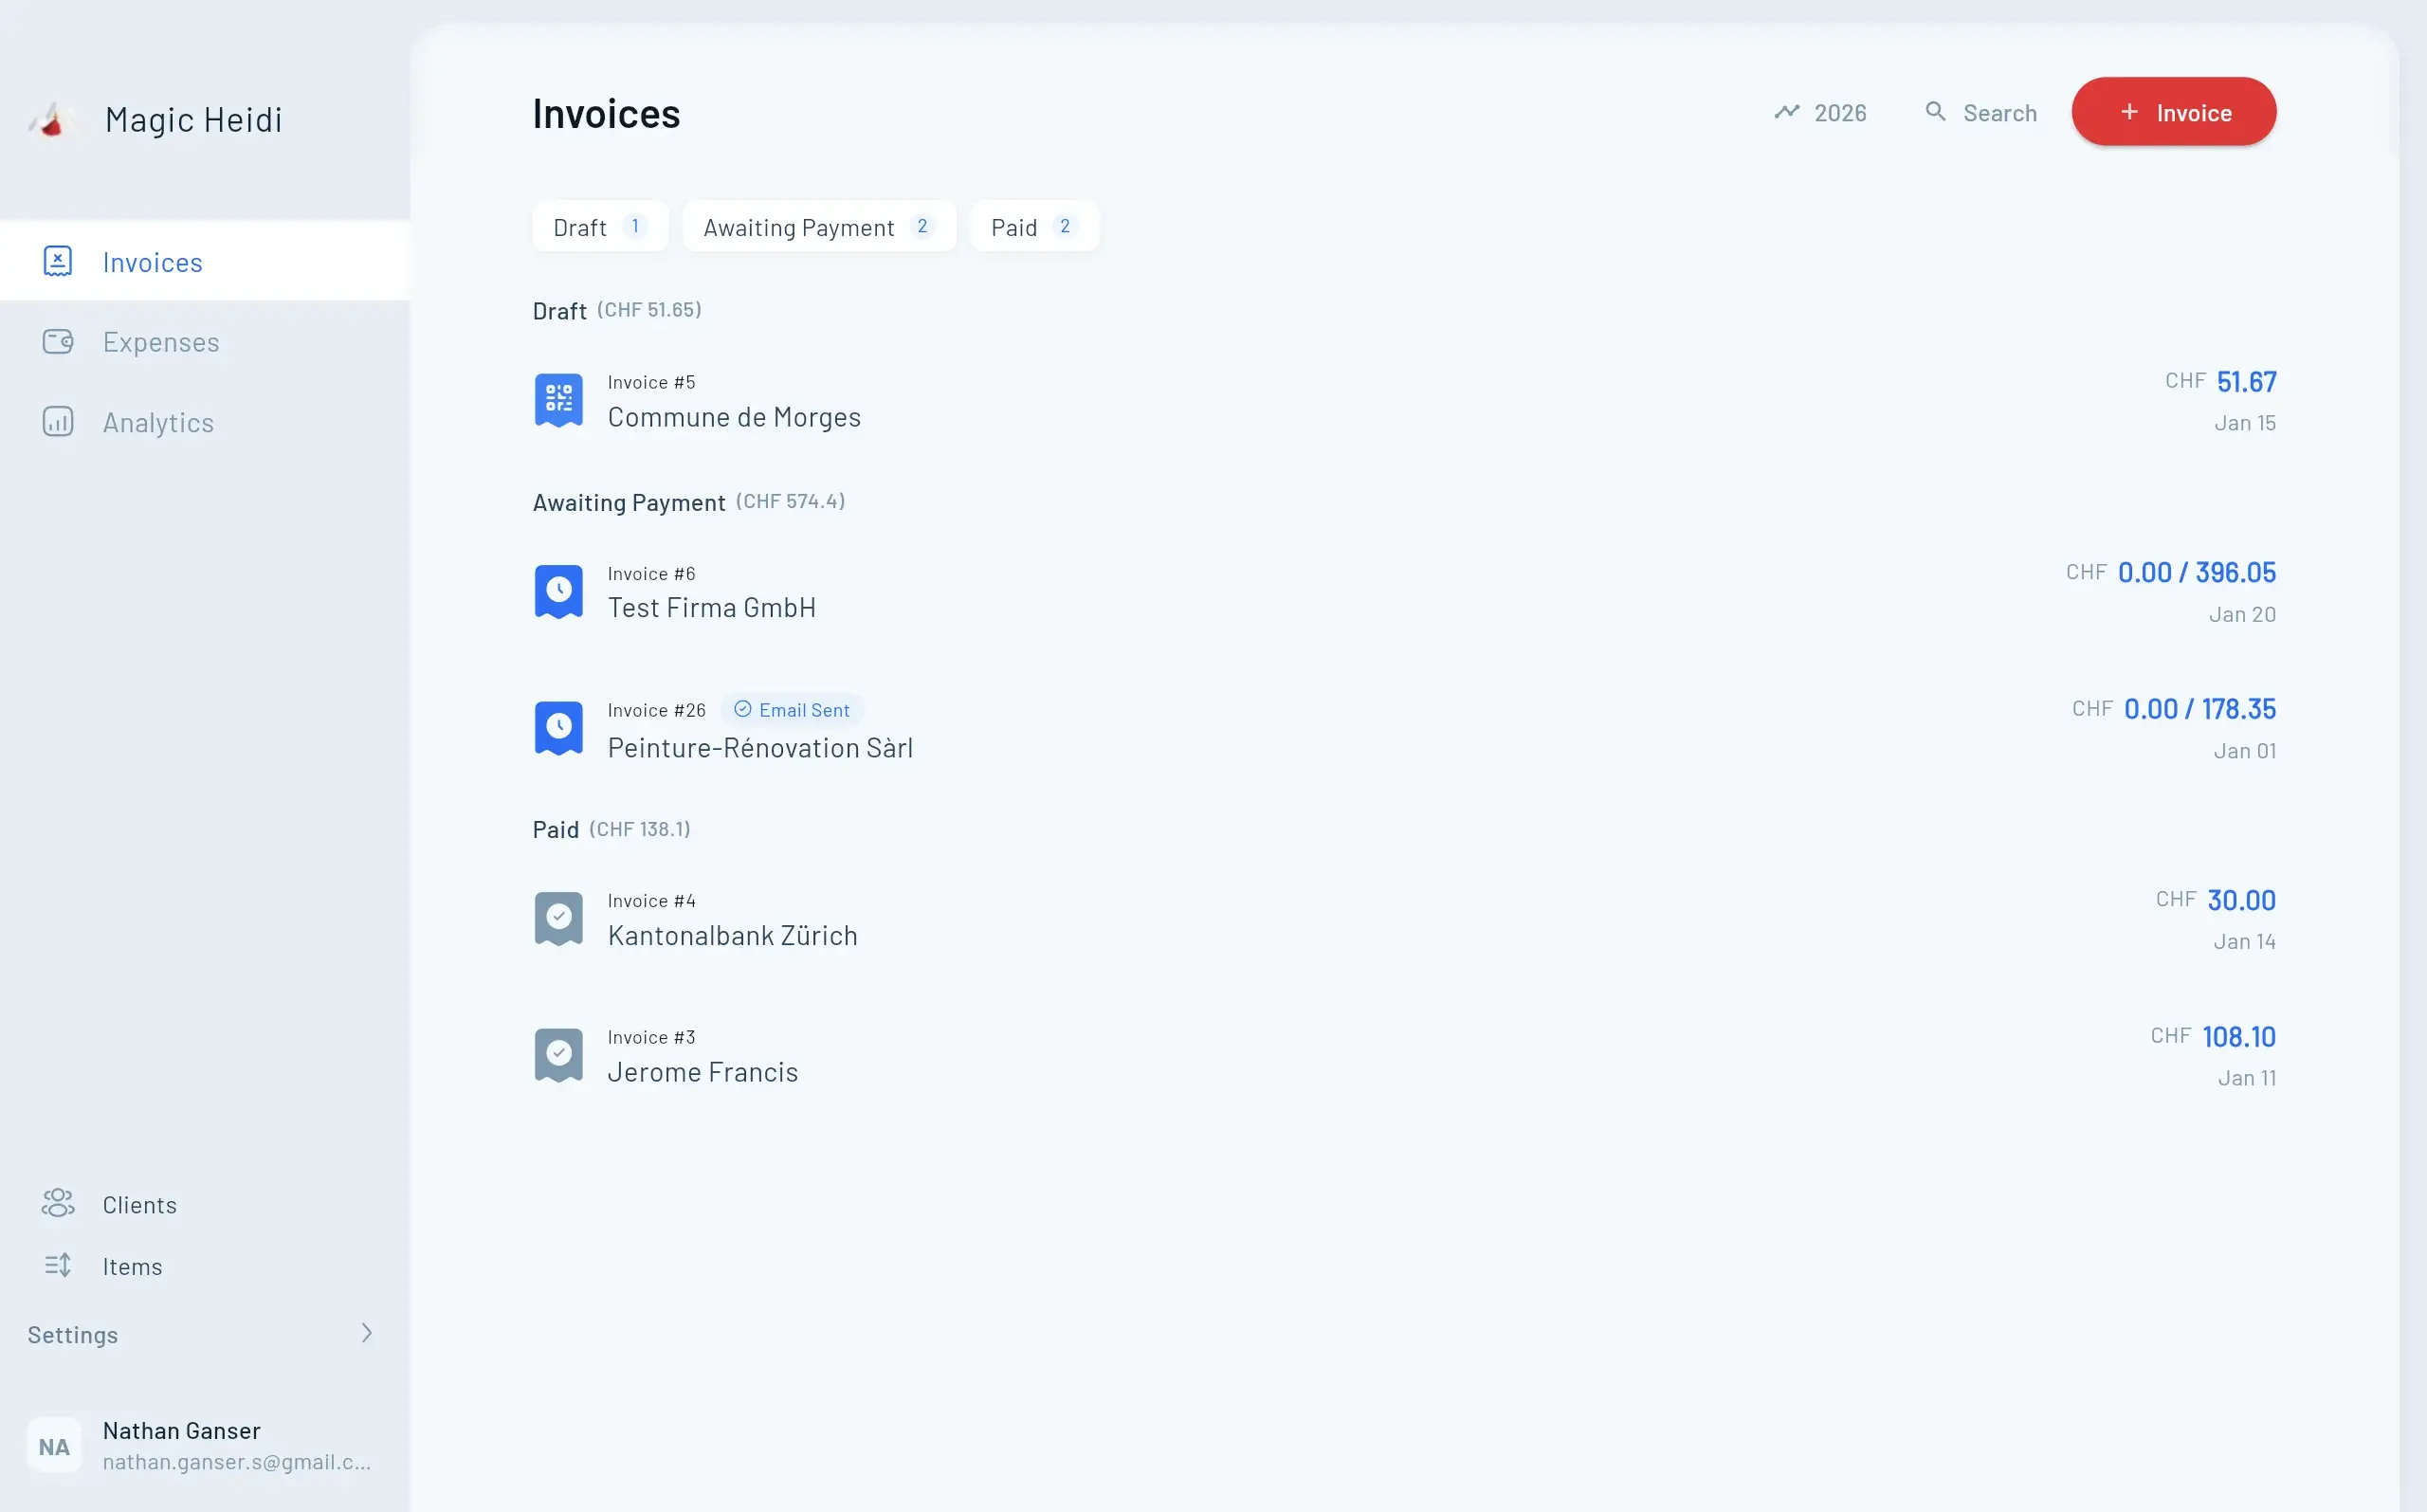
Upload Your Logo
App source reviewed on 1 November 2026; no logged-in interface test. The reviewed implementation has an invoice customisation area with an invoice logo section and an upload action. Open settings and invoice customisation; the precise menu arrangement can vary.
- Prepare a preferably square PNG or JPEG logo, as recommended by the app’s guidance.
- Select the logo upload action and choose the image through your device’s file picker.
- Wait for saving to finish. The implementation reduces the image to a maximum height of 256 pixels and stores it as PNG.
- Check the saved logo. You can also remove it in the same area.
- If an invoice already exists, the reviewed implementation offers a PDF preview through the eye icon. Check the finished document before sending.
The previously stated 512 KB limit, minimum width of 400 pixels and 300 DPI requirement are not verified upload prerequisites. Readability also depends on the image content, resizing and PDF rendering.
Existing Invoices and Other Devices
The logo is stored for the account. Do not assume regenerating an old invoice will always use its original logo. Archive the PDF actually sent. Changing the logo does not alter a file already downloaded or sent to a client.
On another device, check that you are signed into the same account and that the new logo appears after loading. No fixed synchronisation time is promised.
Previewing Your Logo on Invoices
Always check how your logo looks before sending invoices to clients. Create a test invoice and verify placement, size, and clarity.
Check Before You Send
Create a test invoice to preview your logo placement and overall appearance.
Verify Positioning
Ensure your logo doesn't overlap with client information or the QR code.
Test Print Quality
Save as PDF to see how your invoice will look when printed.
Make Adjustments
If needed, edit the image file and upload it again. Free positioning in the invoice editor is not promised.
Check Before You Send
After uploading your logo, create a test invoice:
Step 1: Go to Create Invoice or New Invoice.
Step 2: Fill in sample client information and line items.
Step 3: Click Preview to see the full invoice with your logo.
Step 4: Check these elements:
- Logo appears clear and properly sized
- Logo doesn't overlap with client information
- Logo aligns correctly in the header
- QR code remains unobstructed at the bottom
- Overall layout looks professional
Step 5: If everything looks good, save the invoice as a PDF to see the print version.
Troubleshooting Common Issues
Logo Appears Blurry or Pixelated
Cause: Low resolution or small file dimensions.
Solution: Use a higher-resolution version and check it after automatic resizing. A DPI value alone does not guarantee sharp PDF output.
If you only have a small logo file, ask your designer for a larger version, or use an image upscaling tool (though this has limits).
"File Too Large" Error
Check: Record the actual error message. A fixed 512 KB limit has not been established.
Solution: Compress your image using:
- TinyPNG (online tool for PNG files)
- JPEG Optimizer (for JPG files)
- Image editing software like Photoshop or GIMP
For unusually large files, reduce the image dimensions and check readability afterwards.
Wrong File Format Error
Cause: You're trying to upload a PDF, GIF, or other unsupported format.
Solution: Convert your logo to PNG or JPG:
- Use an online converter (PDF to PNG, etc.)
- Open in Photoshop, GIMP, or Preview (Mac) and export as PNG/JPG
- Ask your designer for a PNG or JPG version
Logo Doesn't Display After Upload
Possible causes: An incomplete upload, connection problem or stale display. Check the actual behaviour before assuming a cause.
Solution:
- Refresh the page or close and reopen the app
- Check upload completion and your connection before continuing on another device
- Clear browser cache if using the web platform
- Check another device using the same account. A display difference does not establish its cause; note the platform and app version if you contact support.
If the issue persists, contact Magic Heidi support through the app or website.
Logo Overlaps with Invoice Content
Cause: Logo file includes excessive transparent space or unusual aspect ratio.
Solution: Edit your logo file in an image editor:
- Crop transparent space around the logo
- Center the logo in a standard aspect ratio (square or 2:1 rectangle)
- Re-upload the adjusted file
Magic Heidi positions logos based on the image file dimensions, so clean files produce better results.
What a Logo Does Not Change
Uploading a logo does not establish that font selection, hex colours, free logo positioning or multiple client-specific templates are available. These options are not promised here. For the full workflow, see create your first invoice.
The payment section must meet the SIX QR-bill requirements independently of branding. Do not cover the QR code or its surrounding clear space with your own image.
Frequently Asked Questions
How often can I change my logo?
Use the logo upload or removal action when you need to update your branding. Check the saved image and new PDF afterwards; frequent changes can make your business harder to recognise.
Does changing my logo affect old invoices?
Downloaded or sent PDFs remain unchanged. When regenerating an older document, check its logo and keep the version actually sent in your archive.
Can I use different logos for different clients?
The reviewed implementation stores one logo per account. Separate logos for individual clients or templates are not promised here.
What if I don't have a logo?
A logo is not a general mandatory invoice field. Correctness depends on the other information and the transaction. You can add a logo later if it helps clients recognise your business.
Will my logo print correctly?
Check the actual PDF and, if needed, a printout. The app resizes the logo, so a sharp original does not guarantee the same appearance at every size.
Can I add other branding elements besides a logo?
You can add header and footer notes in invoice editing. This guide does not claim free choice of colours, fonts or templates.
Your Professional Invoices Start Now
Upload your logo and check the preview. Then check bank details, service information and tax treatment as carefully as the visual layout.