Ausgaben leicht gemacht – So funktioniert Ausgabenmanagement
Lernen Sie, wie Sie mit Magic Heidi Ausgaben per Computer, Smartphone oder E-Mail erfassen, wiederkehrende Kosten automatisieren und Ihre Buchhaltung im Griff behalten.
Als Freelancer kennen Sie das Problem: Belege sammeln sich an, Quittungen verschwinden, und am Ende des Jahres wird die Buchhaltung zum Albtraum. Dabei muss das gar nicht sein. Mit dem richtigen Werkzeug erfassen Sie Ihre Ausgaben in Sekunden -- egal ob am Computer, unterwegs mit dem Smartphone oder direkt aus Ihrem E-Mail-Postfach.
In diesem Tutorial zeigen wir Ihnen Schritt für Schritt, wie Sie das Ausgabenmanagement in Magic Heidi nutzen. Sie lernen vier verschiedene Methoden, um Ausgaben zu erfassen, erfahren, wie Sie wiederkehrende Kosten automatisieren, und entdecken, wie Sie Ihre Finanzdaten exportieren können.
Methode 1: Ausgaben am Computer erfassen
Die naheliegendste Methode ist die direkte Erfassung über die Magic Heidi Web-App auf Ihrem Computer. Besonders praktisch: Magic Heidi kann hochgeladene Rechnungen automatisch scannen und die relevanten Daten auslesen.
So gehen Sie vor
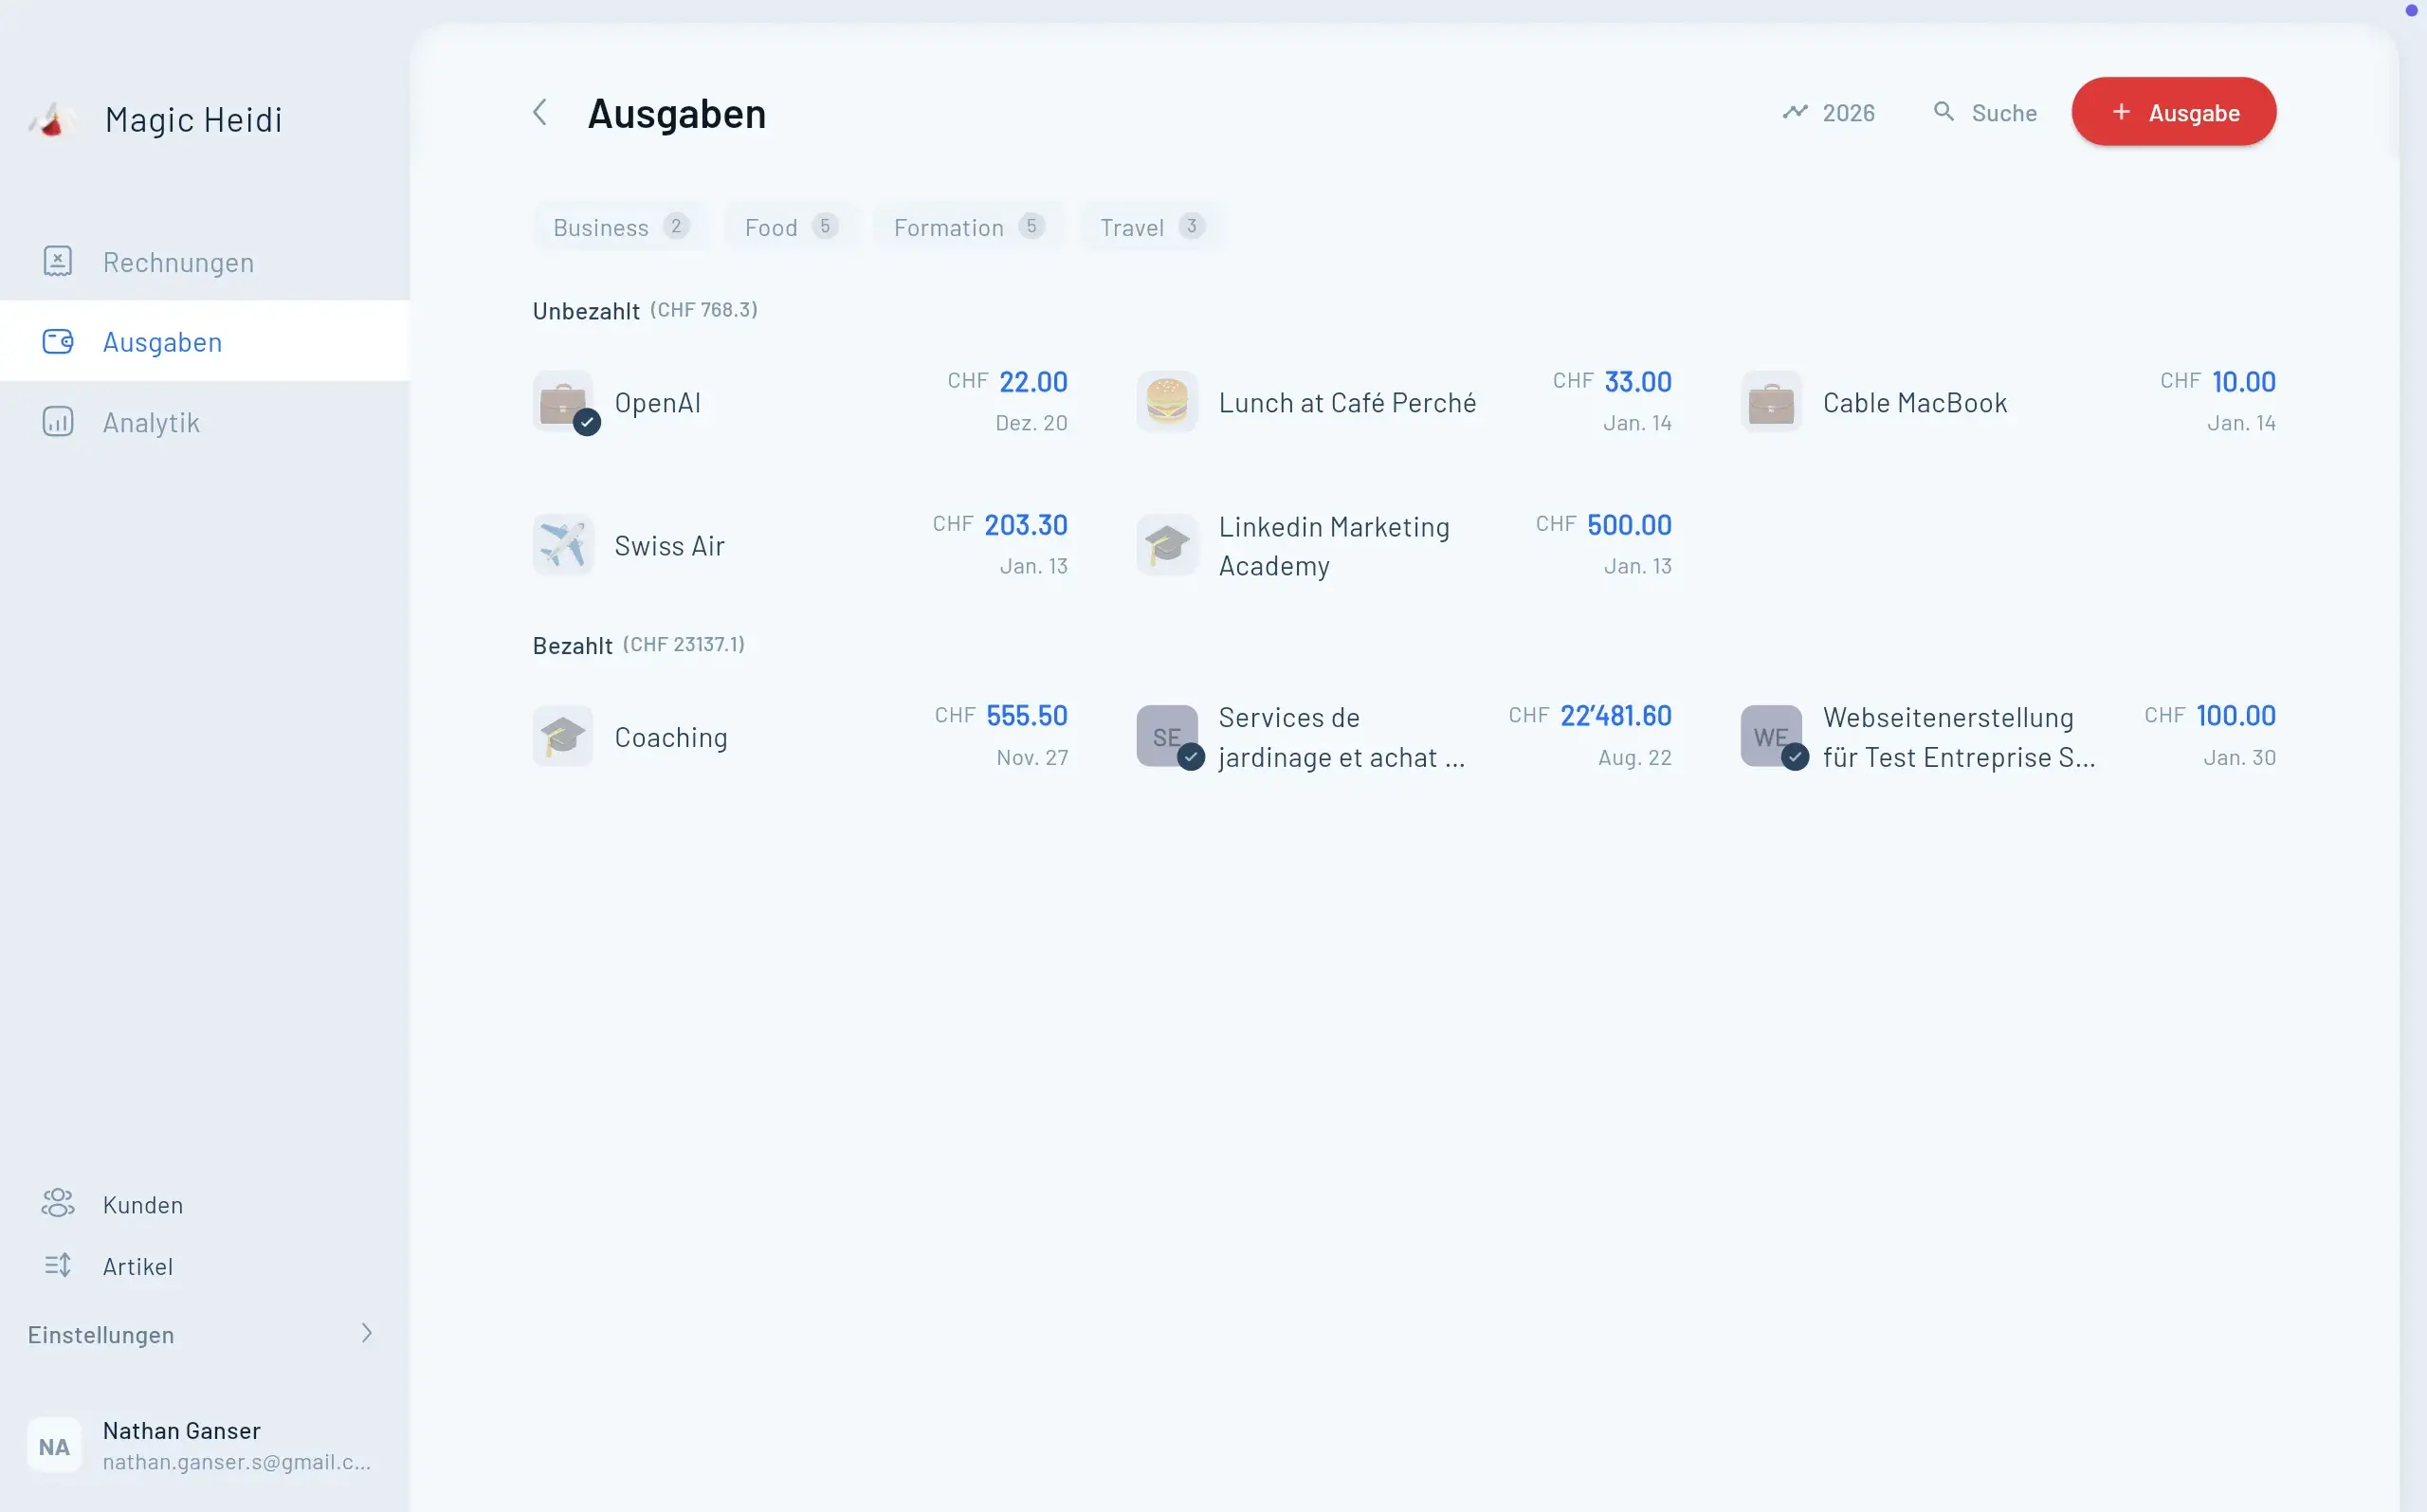
- Navigieren Sie zum Bereich «Ausgaben» in Magic Heidi.
- Klicken Sie auf das Plus-Symbol (+), um eine neue Ausgabe zu erstellen.
- Laden Sie ein Dokument hoch -- am besten gleich als Erstes. Ziehen Sie Ihre Rechnung (z. B. als PDF) in das Upload-Feld oder wählen Sie die Datei manuell aus.
- Warten Sie auf die automatische Erkennung. Magic Heidi scannt das Dokument und füllt die relevanten Felder automatisch aus -- inklusive Betrag, Lieferant und Mehrwertsteuer.
- Wählen Sie eine Zahlungsmethode aus der Liste oder erstellen Sie eine neue (z. B. «Bank»).
- Geben Sie die Mehrwertsteuer an, falls Sie mehrwertsteuerpflichtig sind.
- Wählen Sie die passende Kategorie für die Ausgabe (z. B. Büroausgabe, Reisekosten etc.).
- Speichern Sie die Ausgabe.
Tipp: Sie haben zwei Speicheroptionen. Klicken Sie auf «Speichern», um die Ausgabe als nicht bezahlt zu hinterlegen -- ideal, wenn die Zahlung noch aussteht. Oder klicken Sie direkt auf «Als bezahlt speichern», um die Ausgabe sofort als erledigt zu markieren.
Noch schneller: Drag & Drop
Sie können Rechnungen und Belege auch einfach per Drag & Drop direkt in die Magic Heidi Oberfläche ziehen. Das Dokument wird automatisch analysiert und als neue Ausgabe angelegt. Das spart zusätzliche Klicks und ist besonders effizient, wenn Sie mehrere Belege auf einmal verarbeiten möchten.
Methode 2: Belege unterwegs mit dem Smartphone scannen
Sie sitzen im Café, erhalten eine Quittung und möchten sie sofort erfassen? Kein Problem. Mit der Magic Heidi App auf Ihrem Smartphone können Sie Belege direkt mit der Kamera scannen.
So funktioniert der mobile Scan
- Öffnen Sie die Magic Heidi App auf Ihrem Smartphone.
- Nutzen Sie die Kamera-Funktion, um ein Foto des Belegs zu machen.
- Die Ausgabe wird automatisch gescannt und in Ihrem Magic Heidi Konto hinterlegt.
- Überprüfen Sie die erfassten Daten anschliessend am Computer oder direkt auf dem Handy.
Das Praktische daran: Die Ausgabe erscheint sofort in Ihrem Magic Heidi Konto. Wenn Sie sich am Computer anmelden und die Seite aktualisieren, finden Sie den neuen Eintrag bereits in Ihrer Ausgabenliste.
Tipp: Diese Methode eignet sich hervorragend für Barausgaben und physische Quittungen. Scannen Sie den Beleg am besten sofort -- so geht nichts verloren, und Sie müssen keine Papierbelege aufbewahren. Wenn Sie häufiger wissen möchten, wann eine Quittung in der Schweiz wirklich nötig ist und was darauf stehen sollte, hilft auch dieser Guide: Quittung Vorlage Schweiz.
Methode 3: Ausgaben per E-Mail importieren
Viele Rechnungen erhalten Sie heutzutage digital per E-Mail. Statt diese herunterzuladen und manuell hochzuladen, können Sie sie direkt an Magic Heidi weiterleiten.
So richten Sie den E-Mail-Import ein
- Öffnen Sie die E-Mail mit der Rechnung, die Sie erfassen möchten.
- Leiten Sie die E-Mail weiter an die Adresse: import@scan.magicheidi.ch
- Hängen Sie die Rechnung als Datei an, falls sie nicht bereits als Anhang in der Original-E-Mail enthalten ist.
- Magic Heidi analysiert die Datei automatisch. Das System erkennt anhand Ihrer Absender-E-Mail-Adresse, zu welchem Konto die Ausgabe gehört.
- Sie erhalten eine Bestätigungs-E-Mail, sobald der Import abgeschlossen ist.
Die importierte Ausgabe erscheint anschliessend in Ihrer Ausgabenliste und kann wie gewohnt bearbeitet, kategorisiert und als bezahlt markiert werden.
Wichtig: E-Mail-Adresse muss übereinstimmen
Damit der Import funktioniert, muss die E-Mail-Adresse, von der Sie senden, mit Ihrem Magic Heidi Konto verknüpft sein. Falls Sie eine andere E-Mail-Adresse für den Import verwenden möchten, kontaktieren Sie das Magic Heidi Team -- die Verknüpfung kann unkompliziert eingerichtet werden.
Tipp: Der E-Mail-Import eignet sich besonders gut für Rechnungen von Cloud-Diensten, Software-Abonnements oder Online-Einkäufen. Richten Sie in Ihrem E-Mail-Programm einen Filter ein, der Rechnungen automatisch an Magic Heidi weiterleitet -- so wird die Erfassung vollständig automatisiert.
Methode 4: Wiederkehrende Ausgaben automatisch erfassen lassen
Nicht alle Ausgaben sind einmalig. Miete, Coworking-Space, Software-Abonnements oder Versicherungsprämien fallen regelmässig an. Magic Heidi ermöglicht es Ihnen, solche wiederkehrenden Ausgaben automatisch erfassen zu lassen.
So erstellen Sie eine wiederkehrende Ausgabe
- Klicken Sie auf das Plus-Symbol (+), um eine neue Ausgabe zu erstellen.
- Wählen Sie die Wiederholungsfrequenz -- zwischen einmalig, monatlich und jährlich.
- Legen Sie die Dauer fest -- z. B. monatlich für 6 Monate.
- Geben Sie Beschreibung, Betrag und Kategorie ein.
- Speichern -- Magic Heidi erledigt den Rest.
Automatische Erstellung
Magic Heidi erstellt automatisch jeden Monat (oder jedes Jahr) einen neuen Ausgabeneintrag. Der Eintrag wird zunächst als nicht bezahlt angelegt. Sie können offene Ausgaben auf einen Blick sehen und bei Zahlung einfach als bezahlt markieren. Das ist ideal für Budgetplanung und Liquiditätsübersicht.
Ideal für diese Ausgaben
- Miete und Bürokosten
- Coworking-Space Abonnements
- Software-Lizenzen und Cloud-Dienste
- Versicherungsprämien
Ausgaben analysieren und exportieren
Ausgaben erfassen ist der erste Schritt. Mindestens ebenso wichtig ist es, den Überblick zu behalten und die Daten für Ihre Buchhaltung aufzubereiten. Magic Heidi bietet dafür einen integrierten Analytik-Bereich mit folgenden Funktionen:
- Einnahmen & Ausgaben -- pro Monat übersichtlich dargestellt
- Kategorien-Aufschlüsselung -- sehen Sie genau, wohin Ihr Geld fliesst
- Flexible Filter -- nach Jahr, Zeitraum oder Status filtern
- Excel-Export -- Daten direkt für den Treuhänder exportieren
Daten für die Buchhaltung exportieren
Wenn es an der Steuererklärung oder an die Zusammenarbeit mit Ihrem Treuhänder geht, können Sie Ihre gesamten Finanzdaten mit wenigen Klicks als Excel-Datei exportieren. Die Datei ist so aufbereitet, dass sie direkt für die Buchhaltung verwendet werden kann.
- Navigieren Sie zum Bereich «Analytik».
- Setzen Sie die gewünschten Filter (Zeitraum, Kategorien, Status).
- Klicken Sie auf «Exportieren», um die Daten als Excel-Datei herunterzuladen.
- Übergeben Sie die Datei an Ihren Treuhänder oder nutzen Sie sie für Ihre eigene Buchhaltung.
Tipp: Exportieren Sie Ihre Daten regelmässig -- zum Beispiel quartalsweise. So haben Sie immer eine aktuelle Sicherung und können bei der Jahresabrechnung auf saubere, vollständige Unterlagen zurückgreifen.
Übersicht aller Methoden
| Methode | Ideal für | Aufwand |
|---|---|---|
| Computer (Upload/Drag & Drop) | Digitale Rechnungen, Batchverarbeitung | Minimal -- automatischer Scan |
| Smartphone (Kamera-Scan) | Papierbelege, unterwegs | Foto machen -- fertig |
| E-Mail-Import | Online-Rechnungen, Abonnements | E-Mail weiterleiten -- fertig |
| Wiederkehrende Ausgaben | Miete, Abos, fixe Kosten | Einmal einrichten -- läuft automatisch |
Egal welche Methode Sie wählen, Magic Heidi analysiert Ihre Belege automatisch, liest die relevanten Daten aus und ordnet sie korrekt ein. Sie sparen sich manuelle Eingaben und reduzieren Fehlerquellen.