Schnellstart: Erste Rechnung in wenigen Minuten
Schritt-für-Schritt-Anleitung: Von der Registrierung über die Einrichtung bis zur ersten Rechnung – einfach und schnell erklärt.
Sie haben sich entschieden, Ihre Rechnungsstellung und Buchhaltung mit Magic Heidi zu vereinfachen – eine ausgezeichnete Wahl. Doch wie bei jeder neuen Software stellt sich die Frage: Wo fange ich an?
In dieser Schritt-für-Schritt-Anleitung begleiten wir Sie durch den gesamten Einstiegsprozess: vom ersten Login über die Einrichtung Ihres Kontos bis hin zum Versand Ihrer ersten Rechnung. Das Beste daran? Der gesamte Vorgang dauert nur wenige Minuten. Keine komplizierte Installation, keine endlosen Konfigurationsmenüs – einfach loslegen.
Am Ende dieses Artikels werden Sie wissen, wie Sie:
- Sich bei Magic Heidi anmelden und Ihr Konto einrichten
- Ihr Firmenprofil mit Logo und Zahlungsinformationen vervollständigen
- Ihre erste professionelle Rechnung erstellen und direkt an Ihren Kunden versenden
Schritt 1: Anmeldung und Kontoerstellung
Der Einstieg in Magic Heidi ist bewusst unkompliziert gehalten. Sie benötigen weder eine langwierige Registrierung noch müssen Sie ein Passwort erstellen. Sie haben drei Anmeldemöglichkeiten:
- Google Login – Mit einem Klick über Ihr bestehendes Google-Konto anmelden.
- Apple Login – Besonders praktisch für Apple-Nutzer – schnell und sicher.
- E-Mail Login – Geben Sie Ihre geschäftliche E-Mail ein und erhalten Sie einen Login-Code.
So melden Sie sich an
- Öffnen Sie die Magic Heidi Website und klicken Sie auf den Login-Button.
- Wählen Sie Ihre bevorzugte Anmeldemethode: Google, Apple oder E-Mail.
- Wenn Sie sich per E-Mail anmelden, erhalten Sie umgehend einen Login-Code per E-Mail.
- Kopieren Sie diesen Code und geben Sie ihn auf der Login-Seite ein.
- Fertig – Ihr Konto wird automatisch erstellt.
Tipp: Verwenden Sie für die Anmeldung am besten Ihre geschäftliche E-Mail-Adresse. So haben Sie alle Rechnungen und Geschäftskorrespondenz sauber getrennt von Ihren privaten E-Mails.
Schritt 2: Das Onboarding – Ihr Konto einrichten
Nach dem ersten Login begrüsst Sie Magic Heidi mit einem Onboarding-Assistenten. Dieser führt Sie durch die wichtigsten Grundeinstellungen, damit Ihre Rechnungen von Anfang an alle nötigen Informationen enthalten. Der Assistent behandelt:
- Firmendaten – Name, Firmenbezeichnung und vollständige Geschäftsadresse. Diese Informationen erscheinen automatisch auf allen Rechnungen und sind jederzeit in den Einstellungen änderbar.
- Zahlungsinformationen – Hinterlegen Sie Ihre IBAN Bankverbindung, damit Ihre Kunden wissen, wohin sie überweisen sollen. Ein QR-Code wird automatisch generiert. Schweizer und internationale Konten werden unterstützt.
- Mehrwertsteuer – Ob MWST-pflichtig oder nicht, Magic Heidi passt die Rechnungsstellung entsprechend an mit automatischer MWST-Berechnung und korrekter Darstellung auf Rechnungen.
Tipp: Sie können das Onboarding auch überspringen und die Angaben später unter den Einstellungen nachtragen. Wir empfehlen jedoch, sich die zwei Minuten zu nehmen und alles direkt auszufüllen. So sind Ihre Rechnungen von der ersten an vollständig und professionell.
Die Pro-Version – brauchen Sie sie?
Nach dem Onboarding wird Ihnen die Pro-Version von Magic Heidi vorgestellt. Diese bietet Ihnen erweiterte Funktionen wie ein höheres Kontingent an Rechnungen und Ausgaben sowie zusätzliche Features.
Wenn Sie Magic Heidi erst einmal testen möchten, können Sie diesen Schritt bedenkenlos überspringen. Die kostenlose Version reicht vollkommen aus, um sich einen Überblick zu verschaffen und die ersten Rechnungen zu erstellen. Ein Upgrade ist jederzeit über die Preisseite möglich, wenn Ihr Bedarf wächst.
Schritt 3: Rechnungsvorlage anpassen
Bevor Sie Ihre erste Rechnung erstellen, lohnt es sich, kurz die Rechnungsvorlage anzupassen. So stellen Sie sicher, dass jede Rechnung professionell aussieht und Ihre Marke widerspiegelt.
Logo hochladen
Navigieren Sie zum Bereich «Rechnungen anpassen», klicken Sie auf den Upload-Button und wählen Sie Ihre Logo-Datei. Ihr Logo erscheint anschliessend automatisch auf allen Rechnungen – ein kleines Detail mit grosser Wirkung.
- PNG-Format mit transparentem Hintergrund empfohlen
- Mindestens 300 × 300 Pixel für scharfe Darstellung
- Erscheint automatisch auf allen neuen Rechnungen
Standardnachrichten
Hinterlegen Sie Standardtexte für Rechnungen, Angebote und Zahlungshinweise. Diese werden automatisch eingefügt und sparen Ihnen bei jeder neuen Rechnung wertvolle Zeit.
- Für Rechnungen: «Herzlichen Dank für Ihr Vertrauen. Bitte überweisen Sie den Betrag innerhalb von 30 Tagen.»
- Für Angebote: «Dieses Angebot ist 30 Tage gültig. Wir freuen uns auf Ihre Rückmeldung.»
- Individuell bei jeder Rechnung anpassbar
Schritt 4: Die erste Rechnung erstellen
Jetzt wird es spannend: Mit Magic Heidi ist Ihre erste Rechnung in wenigen Klicks erledigt.
- Kunden wählen – Bestehenden Kunden auswählen oder neuen Kunden mit Name und Adresse anlegen.
- Positionen hinzufügen – Aus vordefinierten Produkten wählen oder neue Positionen mit individueller Bezeichnung erstellen.
- Details anpassen – Sprache, Währung, Zahlungsfrist und persönliche Nachricht festlegen.
- Rechnung generieren – Professionelles Dokument mit Logo, QR-Code und allen relevanten Angaben erstellen.
Positionen hinzufügen
Für jede Position geben Sie an:
- Bezeichnung – Was haben Sie geliefert oder geleistet? (z. B. «Beratung Website-Redesign», «Champagner» etc.)
- Preis – Der Betrag in der gewünschten Währung
- Menge – Wie viele Einheiten oder Stunden?
Tipp: Wenn Sie regelmässig dieselben Leistungen oder Produkte verrechnen, legen Sie diese als Standardprodukte an. So müssen Sie bei zukünftigen Rechnungen nur noch die Menge anpassen.
Rechnungsdetails anpassen
- Sprache – Passen Sie die Rechnungssprache an Ihren Kunden an (Deutsch, Französisch, Italienisch, Englisch etc.)
- Währung – Wählen Sie die passende Währung (CHF, EUR, USD etc.)
- Zahlungsfrist – Legen Sie fest, bis wann die Rechnung bezahlt werden soll
- Individuelle Nachricht – Ergänzen Sie bei Bedarf eine persönliche Nachricht
Rechnung generieren
Klicken Sie auf «Rechnung generieren» – Magic Heidi erstellt automatisch ein professionelles Rechnungsdokument mit Ihrem Firmenlogo, allen Kundendaten, korrekter Berechnung, IBAN, QR-Code und allfälligen MWST-Angaben.
Schritt 5: Rechnung direkt an den Kunden versenden
Der letzte Schritt ist gleichzeitig der befriedigendste: Sie versenden Ihre Rechnung direkt aus Magic Heidi heraus – ohne Umwege über ein separates E-Mail-Programm.
- Klicken Sie auf der Rechnungsansicht auf den Versand-Button.
- Geben Sie die E-Mail-Adresse Ihres Kunden ein.
- Fügen Sie bei Bedarf einen persönlichen Begleittext hinzu (z. B. «Vielen Dank für den Auftrag. Anbei erhalten Sie die Rechnung.»).
- Klicken Sie auf «Schicken».
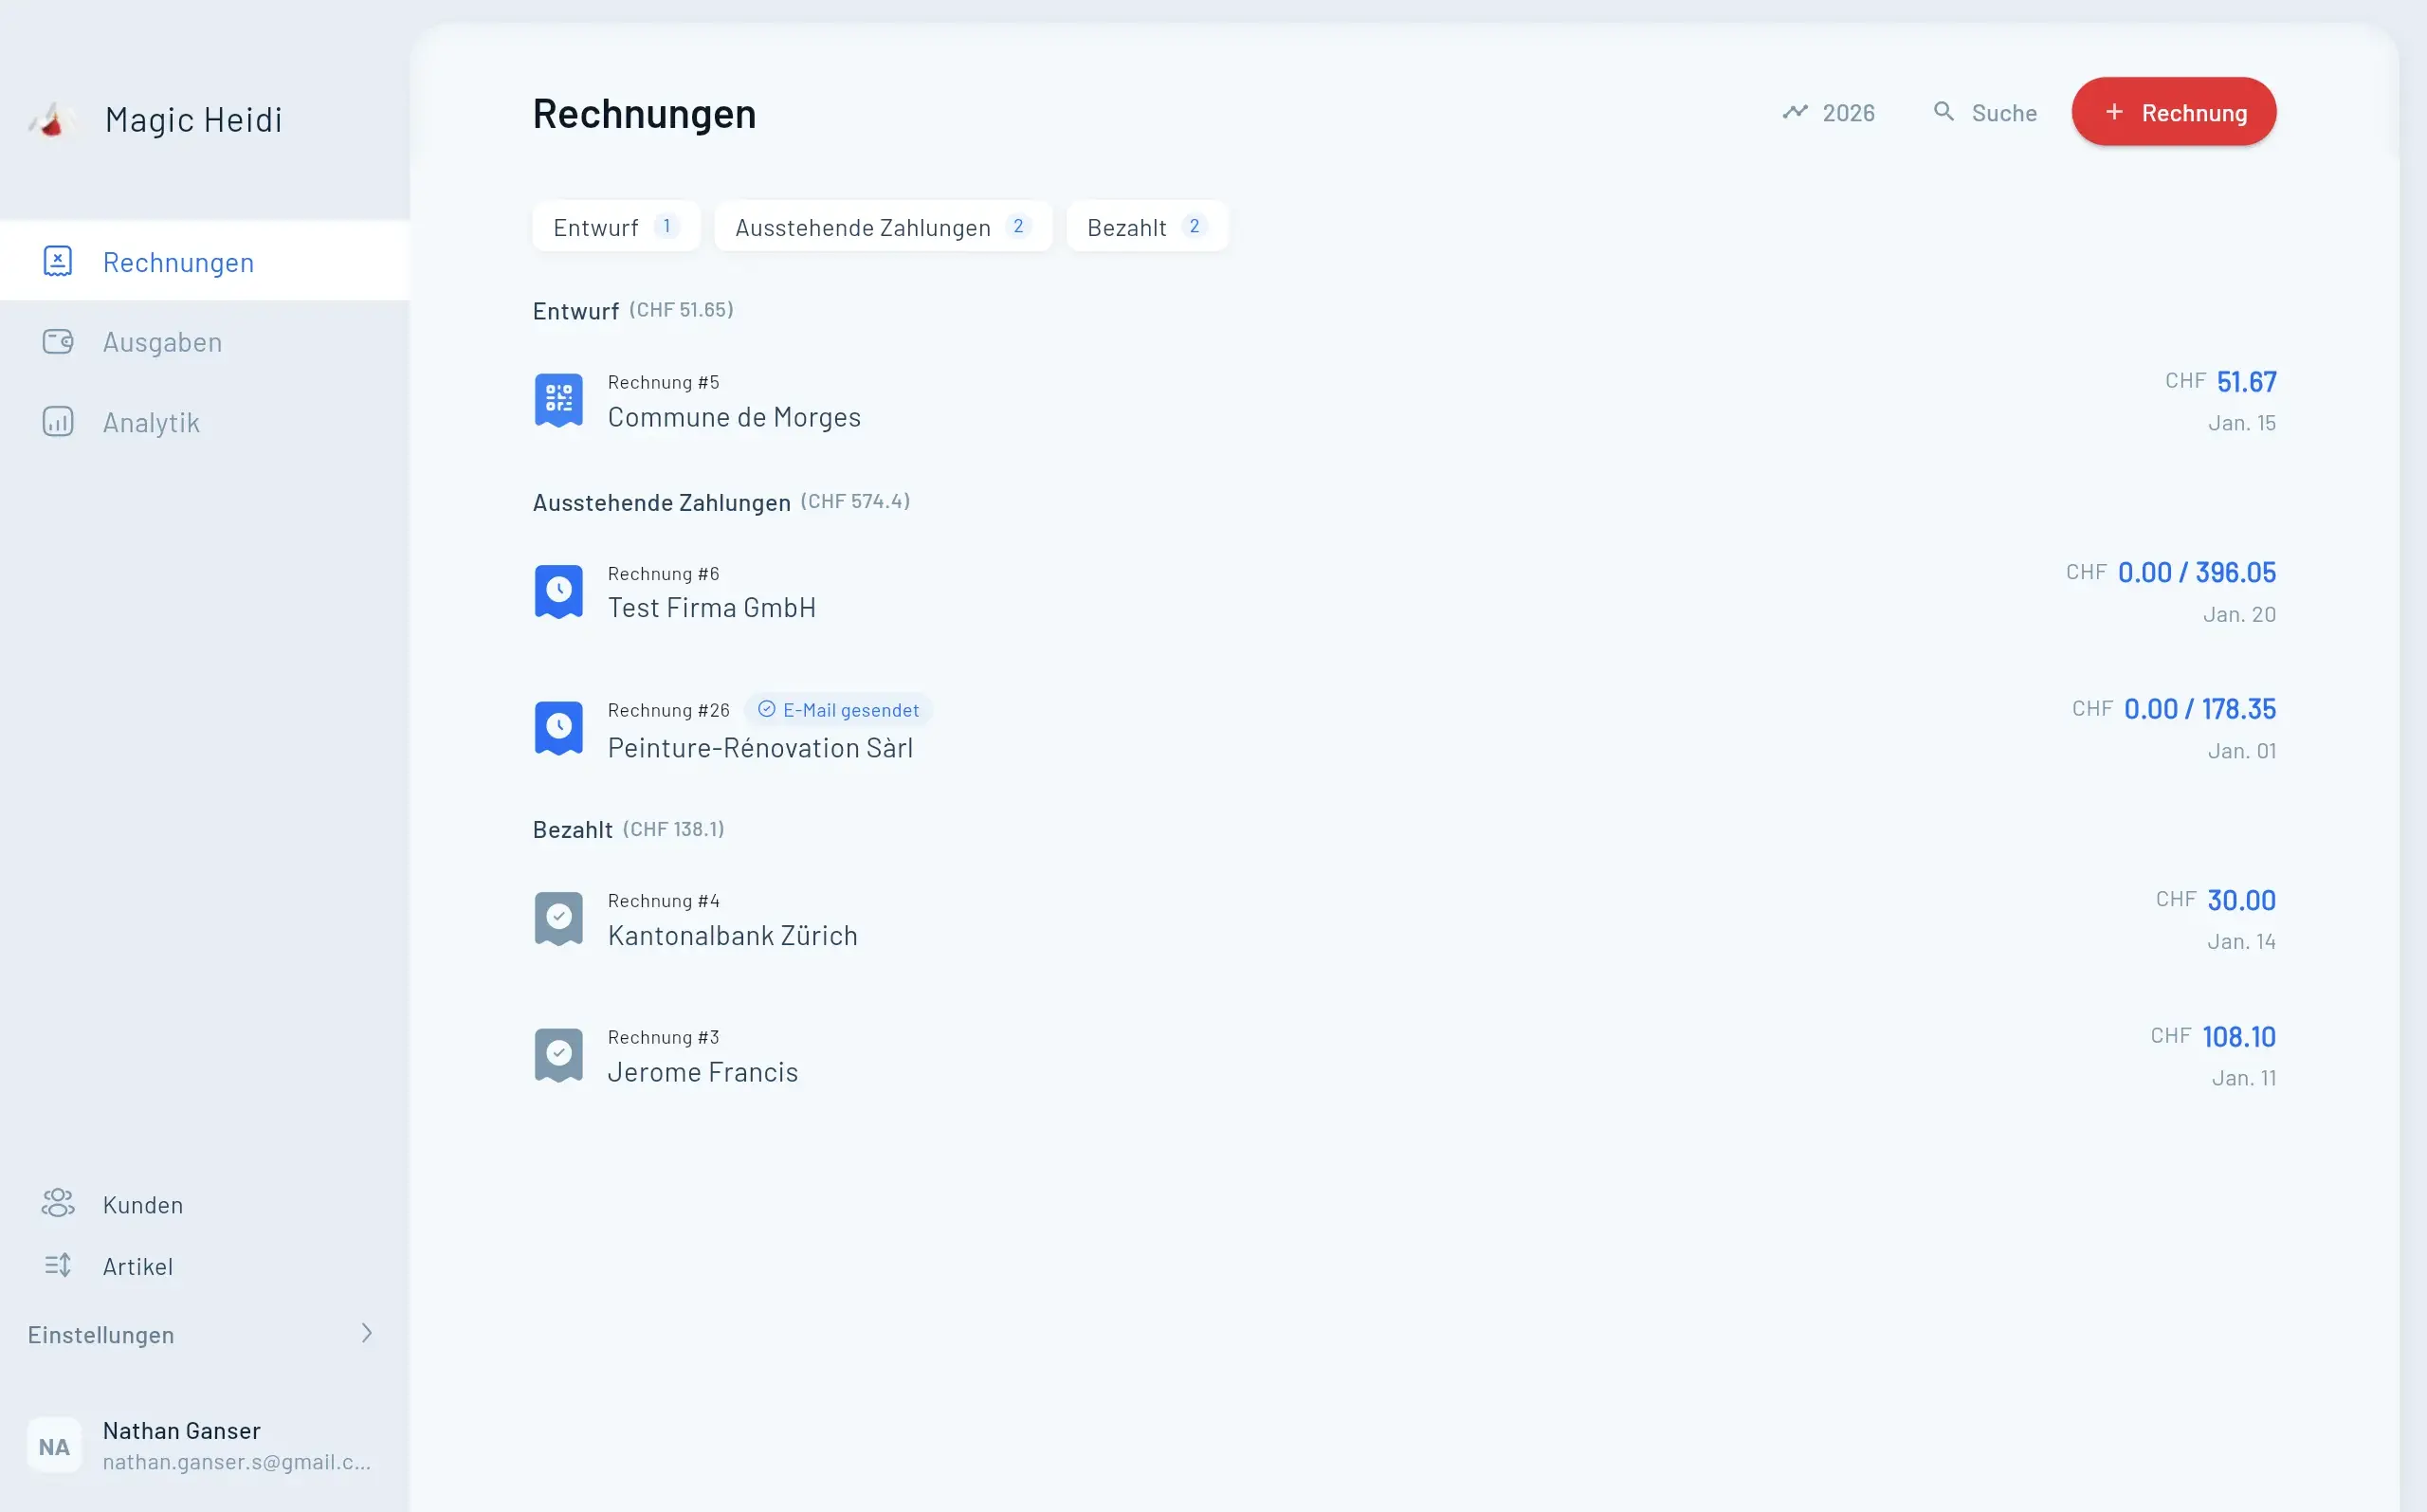
Die Rechnung wird Ihrem Kunden als professionelle E-Mail mit PDF-Anhang zugestellt. Sie behalten in Magic Heidi jederzeit den Überblick, welche Rechnungen bereits versendet, bezahlt oder noch offen sind.
Tipp: Speichern Sie die E-Mail-Adresse beim Kunden ab. So müssen Sie diese beim nächsten Mal nicht erneut eingeben und können zukünftige Rechnungen noch schneller versenden.
Zusammenfassung: In 5 Schritten zur ersten Rechnung
Der gesamte Vorgang dauert unter 10 Minuten – von der ersten Anmeldung bis zur versendeten Rechnung:
| Schritt | Aktion | Zeitaufwand |
|---|---|---|
| 1 | Anmelden (Google, Apple oder E-Mail) | 30 Sekunden |
| 2 | Onboarding (Name, Adresse, IBAN) | 2 Minuten |
| 3 | Rechnungsvorlage anpassen (Logo, Texte) | 2 Minuten |
| 4 | Erste Rechnung erstellen | 3 Minuten |
| 5 | Rechnung per E-Mail versenden | 30 Sekunden |
Nächste Schritte
Nachdem Sie Ihre erste Rechnung erfolgreich erstellt und versendet haben, können Sie Magic Heidi weiter erkunden:
- Ausgaben erfassen – Belege hochladen und Ausgaben im Griff behalten
- Kundenverwaltung – Alle Kunden mit vollständigen Kontaktdaten anlegen
- Produktkatalog – Standardleistungen für schnellere Rechnungserstellung definieren
- Angebote erstellen – Professionelle Offerten mit Magic Heidi versenden