Gutschriften in Magic Heidi – Rückerstattung
Lernen Sie zwei einfache Methoden kennen, um Rückerstattungen auszustellen, die Ihre Freelance-Buchhaltung sauber, transparent und im Einklang mit der Schweizer Milchbüechli-Buchführung halten.
Als Freelancer läuft nicht immer alles nach Plan. Ein Paket kommt beschädigt an. Ein Kunde ändert den Projektumfang mittendrin. Sie haben versehentlich zu viel verrechnet. Was auch immer der Grund ist – es gibt Situationen, in denen Sie eine Rückerstattung ausstellen müssen, sei es teilweise oder vollständig.
In herkömmlicher Buchhaltungssoftware erfordern Gutschriften oft das Erstellen separater Dokumenttypen, das Navigieren durch komplexe Arbeitsabläufe und das Kämpfen mit verwirrenden Abstimmungsprozessen. Magic Heidi verfolgt einen anderen Ansatz. Basierend auf dem Schweizer Milchbüechli-Buchhaltungsprinzip hält Magic Heidi die Dinge erfrischend einfach, damit Sie Rückerstattungen ohne Buchhaltungsdiplom abwickeln können.
In diesem Leitfaden lernen Sie zwei unkomplizierte Methoden kennen, um Gutschriften in Magic Heidi zu erstellen:
- Methode 1: Eine Gutschriftssektion direkt zu einer bestehenden Rechnung hinzufügen (ideal für Teilrückerstattungen)
- Methode 2: Eine eigenständige Rückerstattungsrechnung erstellen (am besten für vollständige Rückerstattungen nach erfolgter Zahlung)
Warum Magic Heidi kein separates Gutschrift-Dokument verwendet
Viele Rechnungstools erstellen Gutschriften als komplett separaten Dokumenttyp. Während das für grössere Unternehmen mit eigenen Buchhaltungsteams funktioniert, fügt es für Freelancer unnötige Komplexität hinzu. Magic Heidi basiert auf dem Milchbüechli-System – einer vereinfachten Buchhaltungsmethode, die in der Schweiz anerkannt ist und perfekt für Einzelunternehmer und kleine Freelance-Betriebe geeignet ist.
Weniger Dokumente
Alles, was zu einer Transaktion gehört, bleibt an einem OrtKlarere Kommunikation
Ihr Kunde sieht die ursprünglichen Positionen und die Gutschrift-Anpassungen auf demselben DokumentEinfachere Buchhaltung
Umsatzaufzeichnungen bleiben sauber, ohne separate Gutschrift-Dokumente querverweisen zu müssenEine Gutschrift zu einer bestehenden Rechnung hinzufügen
Der häufigste Ansatz – perfekt für Teilrückerstattungen, wenn ein Kunde noch nicht bezahlt hat oder wenn Sie eine Rechnung mit mehreren Positionen anpassen müssen.
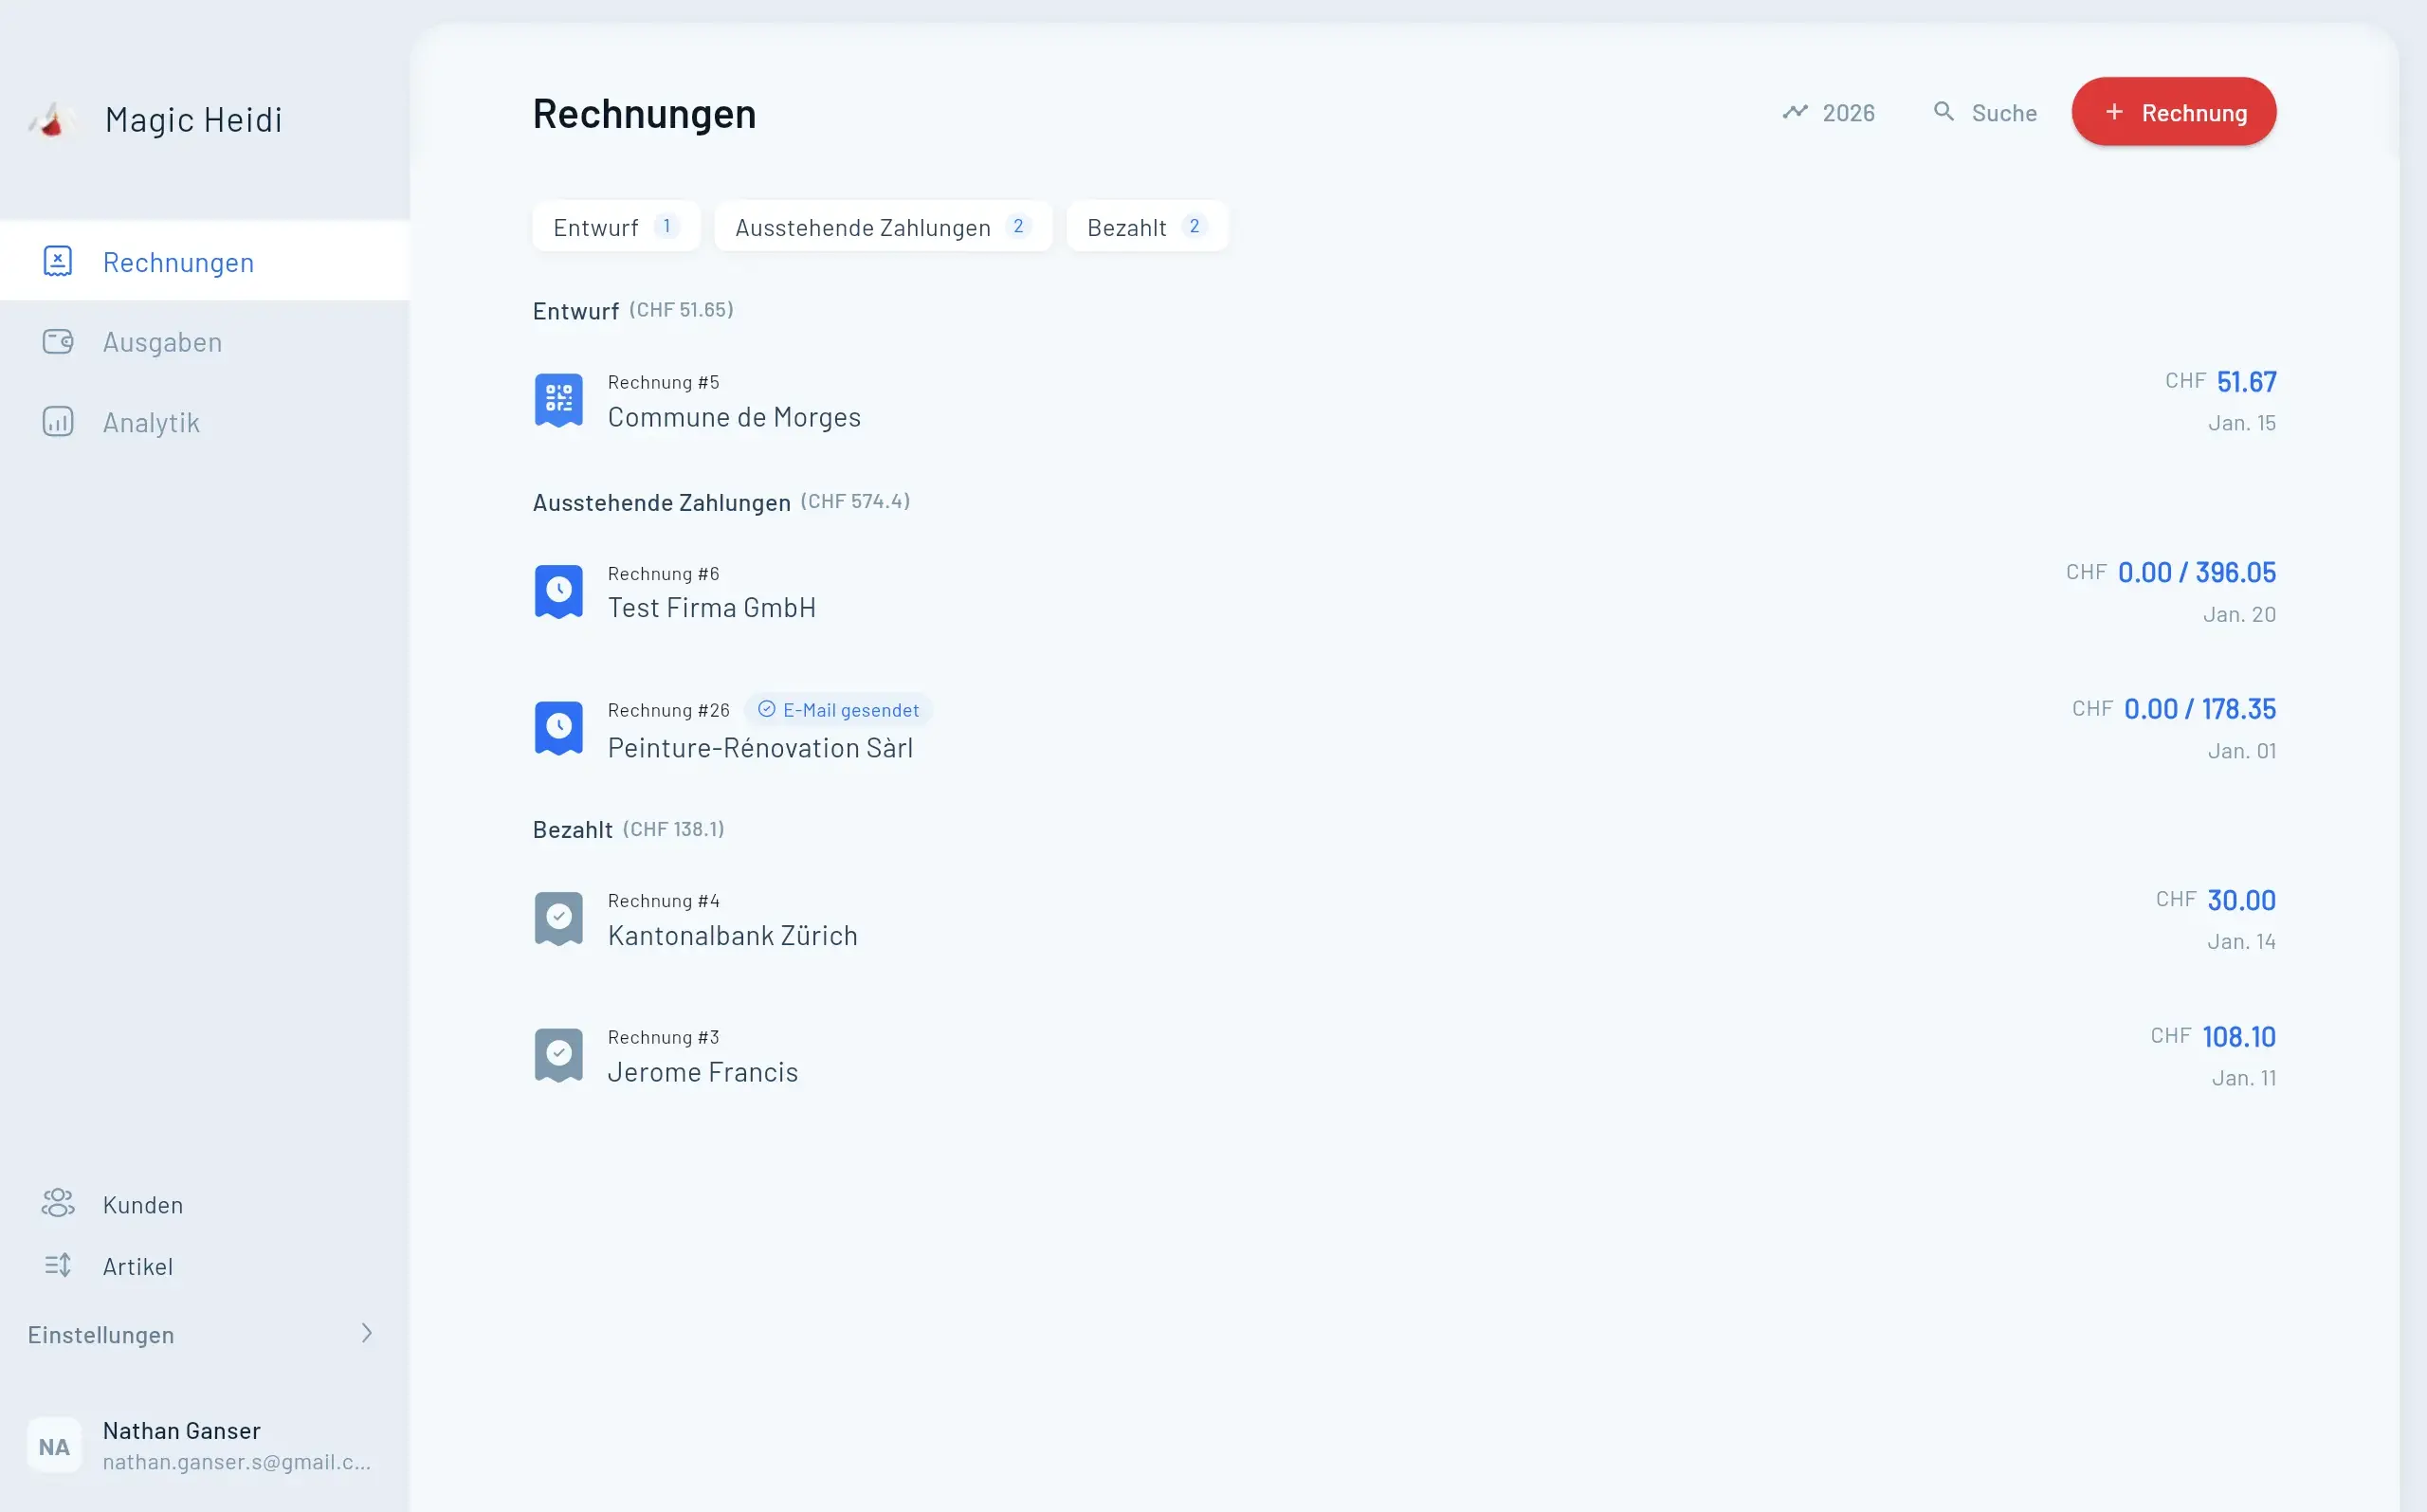
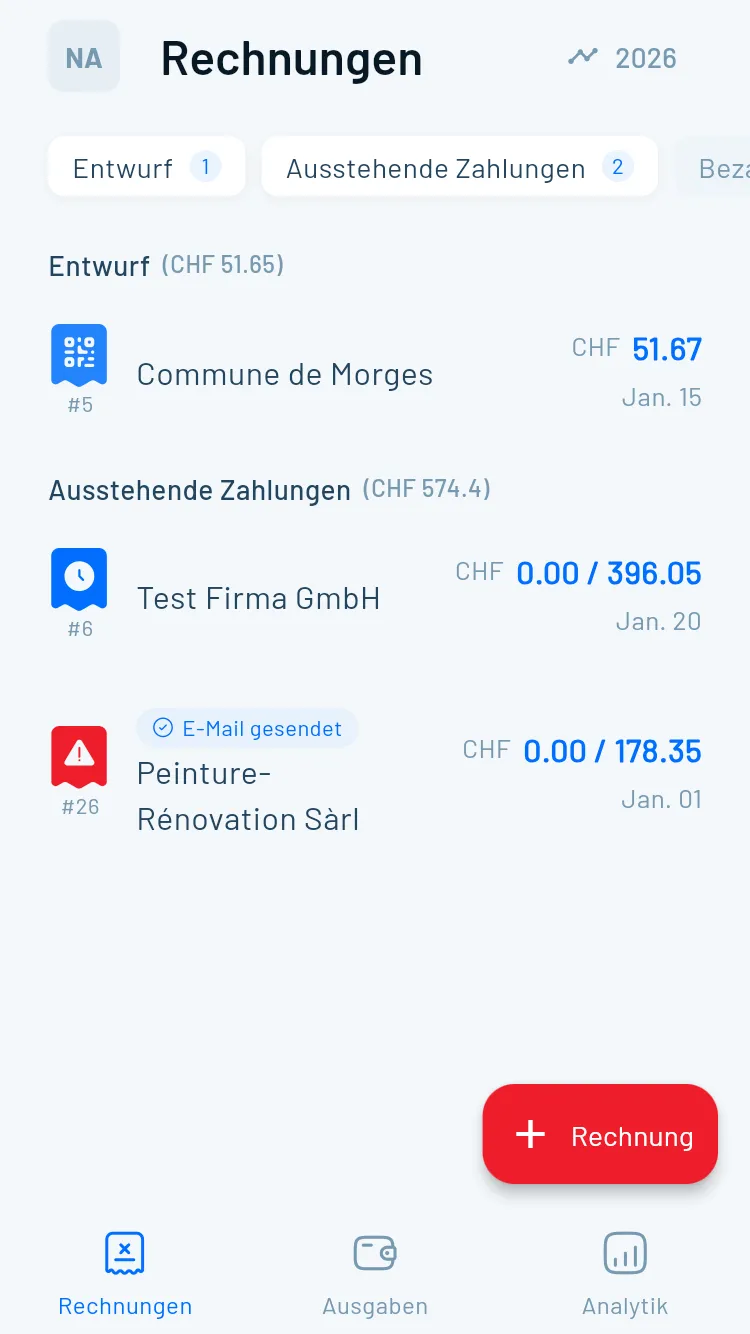
- Rechnung #3
Magic Heidi
CHF 500
Jan 29
- Rechnung #2
Webbiger LTD
CHF 2000
Jan 24
- Rechnung #1
John Doe
CHF 600
Jan 20
Wann Sie diese Methode verwenden sollten
- Ein Kunde hat noch nicht bezahlt und Sie müssen den Rechnungsbetrag anpassen
- Sie stellen eine Teilrückerstattung auf einer Rechnung mit mehreren Positionen aus
- Sie möchten alles in einem einzigen, übersichtlichen Dokument behalten
Schritt-für-Schritt-Anleitung
- Öffnen Sie die Rechnung, die Sie bearbeiten möchten. Navigieren Sie zu Ihren Rechnungen in Magic Heidi und wählen Sie diejenige aus, die eine Gutschrift-Anpassung benötigt.
- Fügen Sie eine neue Abschnittsüberschrift für die Gutschrift hinzu. Erstellen Sie eine neue Artikelzeile und geben Sie «Gutschrift» (oder ähnlich) als Beschreibung ein. Setzen Sie sowohl den Preis als auch die Einheiten auf null. Dies erstellt effektiv einen Abschnittstrenner – er beeinflusst die Gesamtsumme nicht, kennzeichnet aber klar, dass das Folgende eine Gutschrift-Anpassung ist.
- Fügen Sie eine visuelle Trennung hinzu (optional, aber empfohlen). Setzen Sie ein leeres Abstandselement zwischen Ihre ursprünglichen Rechnungspositionen und den neuen Gutschrift-Abschnitt ein. Dies erzeugt einen deutlichen visuellen Bruch im generierten PDF.
- Fügen Sie die Gutschrift-Position hinzu. Erstellen Sie eine neue Artikelzeile unterhalb Ihrer «Gutschrift»-Überschrift. Erklären Sie in der Beschreibung deutlich den Grund für die Rückerstattung – zum Beispiel «Rückerstattung – beschädigtes Paket bei Lieferung». Setzen Sie den Preis auf einen negativen Wert (z. B. -50).
- Generieren Sie die aktualisierte Rechnung. Magic Heidi erstellt ein sauberes PDF, das die ursprünglichen Positionen, den Gutschrift-Abschnitt und die aktualisierte Gesamtsumme zeigt.
- Senden Sie die aktualisierte Rechnung an Ihren Kunden. Ihr Kunde sieht ein einziges, übersichtliches Dokument, das genau zeigt, was verrechnet wird, was erstattet wurde und wie die neue Gesamtsumme lautet.
Beispiel — Methode 1
Angenommen, Sie haben einem Kunden CHF 90 in Rechnung gestellt – zwei Positionen à CHF 45. Ein Artikel kam beschädigt an:
| Beschreibung | Betrag |
|---|---|
| Designleistungen – Logo | CHF 45.00 |
| Designleistungen – Visitenkarte | CHF 45.00 |
| Gutschrift | |
| Rückerstattung – beschädigtes Paket bei Lieferung | -CHF 50.00 |
| Total | CHF 40.00 |
Ihr Kunde sieht nun einen Gesamtbetrag von CHF 40 und weiss genau, warum sich der Betrag geändert hat. Sauber, transparent und professionell.
Tipp: Geben Sie im Beschreibungsfeld immer einen klaren, spezifischen Grund für die Gutschrift an. Dies hilft Ihrem Kunden, die Anpassung nachzuvollziehen, und hält Ihre eigenen Unterlagen für Steuerzwecke geordnet.
Eine eigenständige Rückerstattungsrechnung erstellen
Manchmal ist es nicht praktikabel, eine Gutschrift zu einer bestehenden Rechnung hinzuzufügen. Das häufigste Szenario? Ihr Kunde hat die ursprüngliche Rechnung bereits vollständig bezahlt, und Sie müssen die Rückerstattung separat ausstellen.
Wann Sie eine eigenständige
Rückerstattungsrechnung verwenden sollten
Diese Methode eignet sich am besten, wenn die ursprüngliche Rechnung bereits beglichen wurde.
Kunde hat bereits bezahlt
Die ursprüngliche Rechnung wurde vollständig bezahlt und Sie müssen ein separates Rückerstattungsdokument ausstellen.
- Vollständige Rückerstattung nach Zahlung erforderlich
- Teilrückerstattung auf eine beglichene Rechnung
- Kunde benötigt ein separates Dokument für seine Unterlagen
- Saubere Dokumentation für beide Parteien
Schritt-für-Schritt-Ablauf
Eine eigenständige Rückerstattungsrechnung zu erstellen, ist in Magic Heidi schnell und unkompliziert.
- Erstellen Sie eine neue Rechnung für den Kunden
- Fügen Sie eine Rückerstattungsposition mit negativem Wert hinzu
- Generieren Sie die Rückerstattungsrechnung mit negativem Total
- Verarbeiten Sie die tatsächliche Rückerstattung per Banküberweisung
Beide Rechnungen korrekt markieren
Der entscheidende Schritt, um Ihre Milchbüechli-Buchhaltung korrekt zu halten.
- Ursprüngliche Rechnung als bezahlt markieren (positiver Betrag)
- Rückerstattungsrechnung als bezahlt markieren (negativer Betrag)
- Umsatzaufzeichnungen spiegeln den Nettobetrag wider
- Die Buchhaltung bleibt perfekt ausgeglichen
Beispiel — Methode 2
| Dokument | Betrag | Status |
|---|---|---|
| Rechnung #1042 – Ursprüngliche Bestellung | CHF 100.00 | Bezahlt |
| Rechnung #1043 – Rückerstattung für beschädigte Lieferung | -CHF 100.00 | Bezahlt |
| Nettototal | CHF 0.00 |
Ihre Buchhaltung zeigt nun korrekt, dass Sie CHF 100 erhalten und CHF 100 zurückerstattet haben – ein Nettobetrag von null für diese Transaktion.
Tipp: Wenn Sie statt einer Barrückerstattung die Gutschrift auf eine zukünftige Rechnung anrechnen möchten, vermerken Sie dies in der Beschreibung der Rückerstattungsrechnung. Zum Beispiel: «Gutschrift wird auf die nächste Rechnung angerechnet.» So behalten Sie die Vereinbarung im Blick und geben Ihrem Kunden eine klare Dokumentation.
Halten Sie Ihre Gutschriften professionell
Unabhängig davon, welche Methode Sie wählen – befolgen Sie diese Tipps, um Ihre Gutschriften sauber und Ihre Buchhaltung korrekt zu halten.
- 📋Immer den Grund angeben
Dokumentieren Sie das «Warum» klar – beschädigtes Produkt, Umfangsänderung oder Abrechnungsfehler
- ➖Negative Werte konsequent verwenden
Verwenden Sie immer ein Minuszeichen vor dem Rückerstattungsbetrag, um korrekte Totale sicherzustellen
- 📐Visuelle Trennung einfügen
Verwenden Sie Abschnittsüberschriften und Leerzeilen, um Rechnungen lesbar und professionell zu gestalten
- 💬Mit Ihrem Kunden kommunizieren
Senden Sie eine kurze Nachricht, die die Anpassung erklärt, um das Vertrauen zu wahren
- Rechnung #3
Magic Heidi
CHF 500
Jan 29
- Rechnung #2
Webbiger LTD
CHF 2000
Jan 24
- Rechnung #1
John Doe
CHF 600
Jan 20
Welche Methode sollten Sie wählen?
| Szenario | Empfohlene Methode |
|---|---|
| Kunde hat noch nicht bezahlt, Teilrückerstattung nötig | Methode 1 – Zur bestehenden Rechnung hinzufügen |
| Kunde hat noch nicht bezahlt, vollständige Stornierung | Beide Methoden möglich |
| Kunde hat bereits bezahlt, Teilrückerstattung nötig | Methode 2 – Eigenständige Rückerstattungsrechnung |
| Kunde hat bereits bezahlt, vollständige Rückerstattung nötig | Methode 2 – Eigenständige Rückerstattungsrechnung |
| Gutschrift soll auf zukünftige Rechnung angerechnet werden | Methode 2 – Eigenständige Rückerstattungsrechnung |
In den meisten alltäglichen Freelance-Situationen wird Methode 1 Ihre bevorzugte Wahl sein. Sie ist schneller, hält alles in einem Dokument und ist der einfachste Ansatz für Sie und Ihren Kunden.
Gutschriften einfach gemacht
Der Ansatz von Magic Heidi – die Verwendung negativer Positionen innerhalb Ihres bestehenden Rechnungsworkflows – hält alles im Einklang mit der Milchbüechli-Philosophie.
Methode 1 – Teilrückerstattungen
Fügen Sie eine Gutschriftssektion mit negativen Positionen direkt zur bestehenden Rechnung hinzu. Ideal für Anpassungen vor der Zahlung.
Methode 2 – Vollständige Rückerstattungen
Erstellen Sie eine eigenständige Rückerstattungsrechnung mit negativem Total und markieren Sie beide Dokumente als bezahlt mit ihren tatsächlichen Werten.
Immer dokumentieren
Halten Sie den Grund für jede Rückerstattung fest und pflegen Sie korrekte Unterlagen für die Steuererklärung und die Transparenz gegenüber Ihren Kunden.
Vereinfachen Sie Ihre Freelance-Rechnungsstellung noch heute
Erstellen Sie saubere, professionelle Rechnungen – inklusive Gutschriften – in wenigen Minuten mit Magic Heidi.